The engine rebuild is well on its way. I've mounted the accessories, head and oil pan. While these components are generally straighforward to install, there are a few areas that deserve custom attention.
Right Side Engine Mount
 Remember when we drilled and tapped the mounting holes on the block? Now it's time to use them. They happen to be the same thread size and pitch as used engine main cap bolts. If you've just changed the bearings you should have at least 10 of these hanging around. I cut off two of them for the top two holes, but the third (bottom) bolt is different. So you'll need 2 M10x1.5 50mm bolts. That third bolt holds on the lower timing belt cover. A 17mm socket won't fit on the head of this bolt because of the plastic, so you'll need to obtain an M10x1.5 50mm allen-head bolt.
Rear Transmission (Trumpet) Bracket
The T4 transmission has an axle extension that mounts to the back of the engine via a bracket. The 5-cylinder and 4-cylinder brackets are different, but that should have been in your box of parts! To mount it, you'll need 1 M8x1.25 by ~65mm long bolt and another M10x1.5 by 100mm long bolt. Unfortunately, an engine main-cap bolt is too short for the bottom hole.
You'll also need to consider your turbo mounting at this point. I installed a VNT-17 with the compressor housing from a VNT-15. I needed to clock the cold side slightly to avoid interferance with the mount. I suspect that the same could work for a 17/22 hybrid, but at least one person has ground the trumpet mount very slightly for clearance. I believe the waste-gated GT15 or K03 original to the 1Z/AHU engines would clear easily.
Lower Timing Belt Cover / Front Main Seal
When I disassembled my engine I separated all bolts into labeled zip-lock baggies. All of the bolts from my front main baggie were the same length, but mounting the ABL lower timing cover required one longer bolt. I may have misplaced something somehow, but I needed one M6x1.0x25mm bolt to reach through the cover.
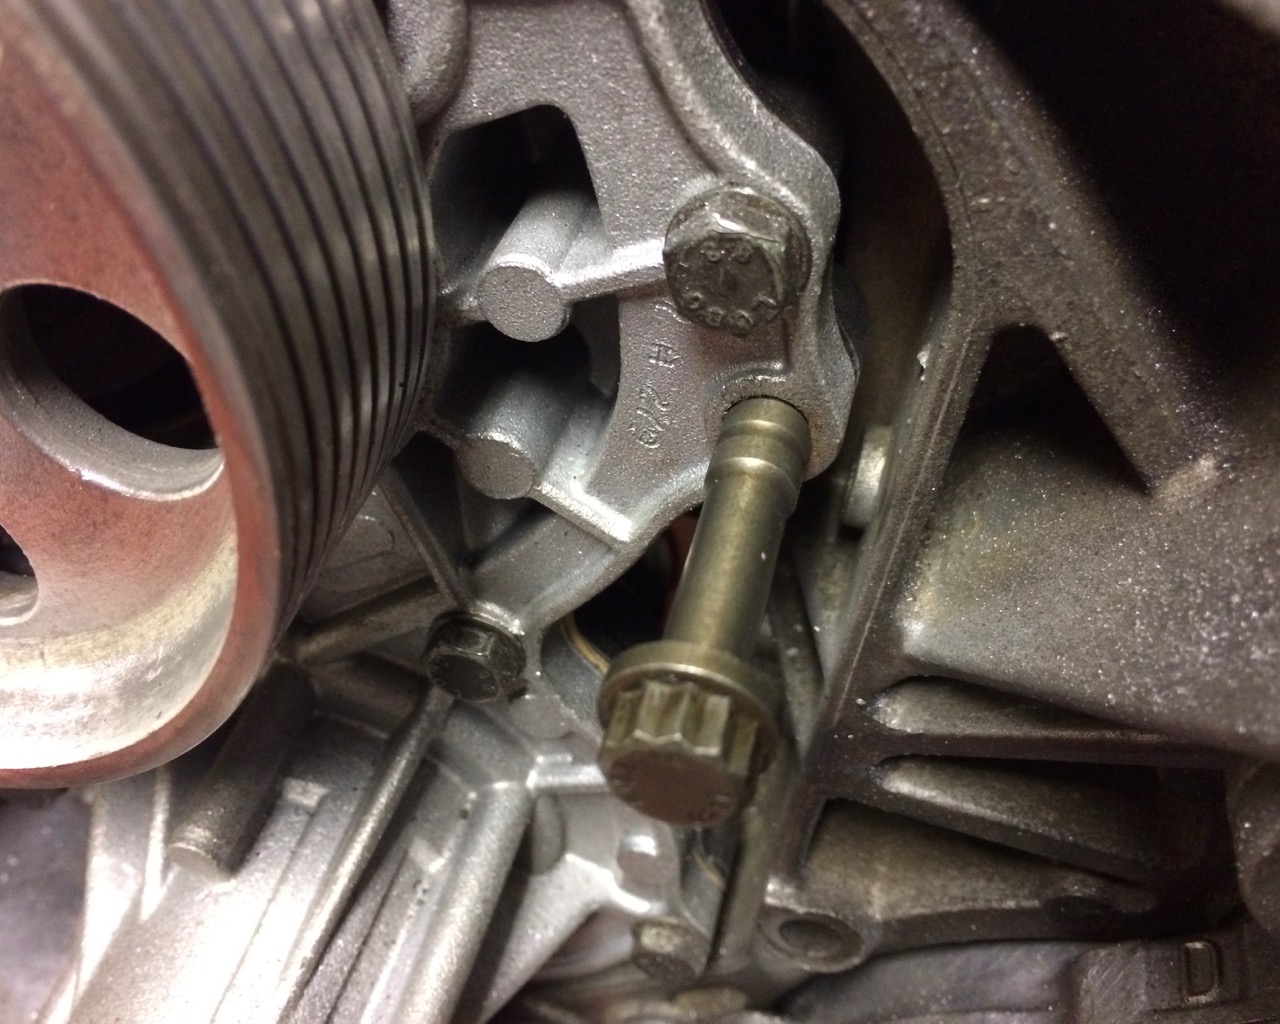
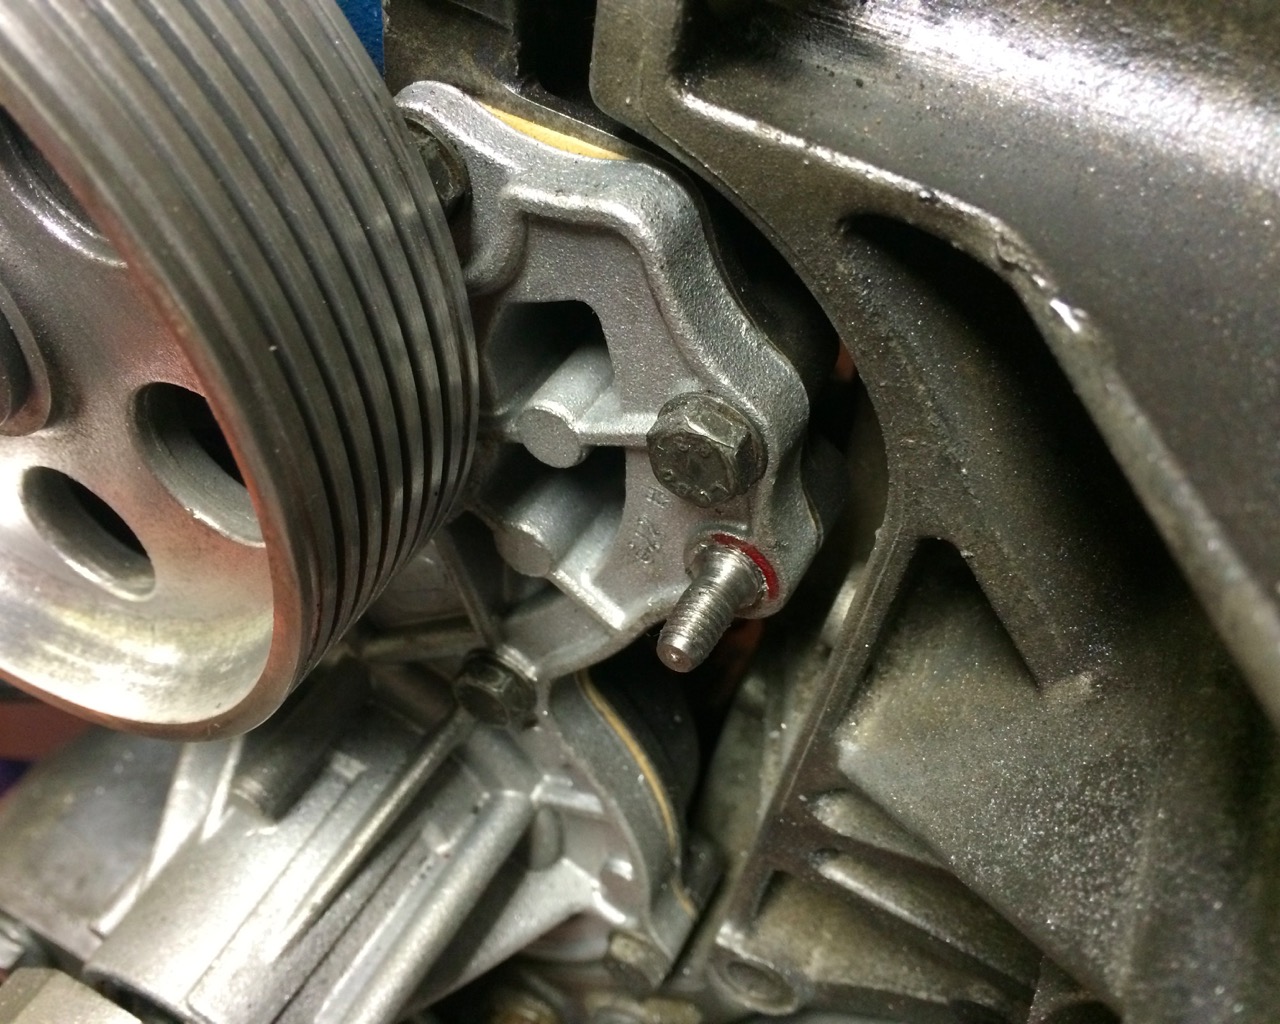
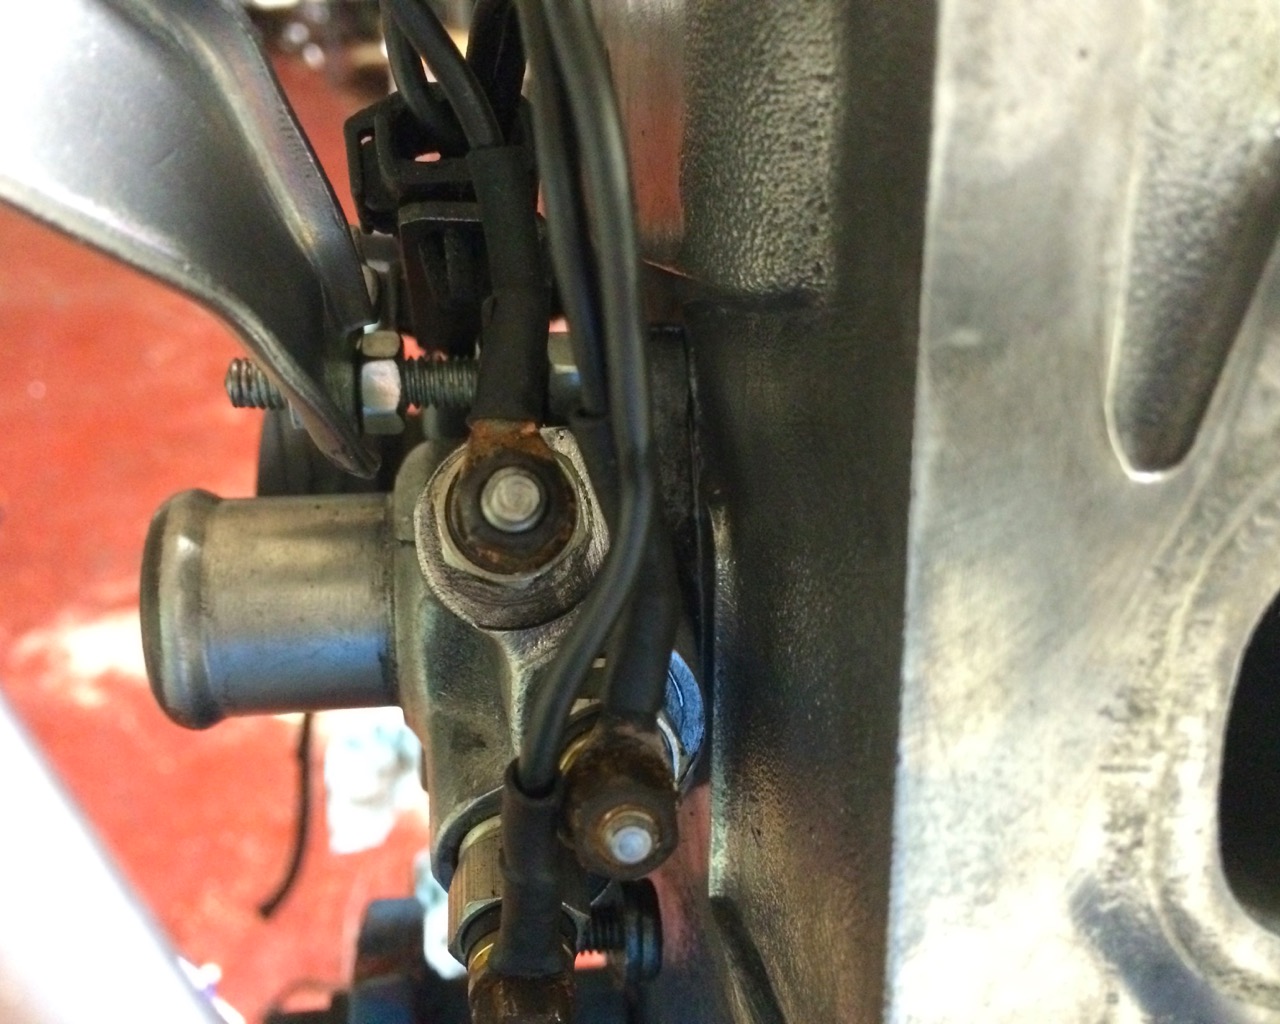
The other issue is the third hold down point— the dreaded T bolt. I have two 1Z Passats (one of which lives on in this project) but neither have that stupid bolt. A lot of people just leave it off, but I had a situation one time about 1500 mi from home where the timing belt began rubbing because the covers weren't held down properly by that bolt.
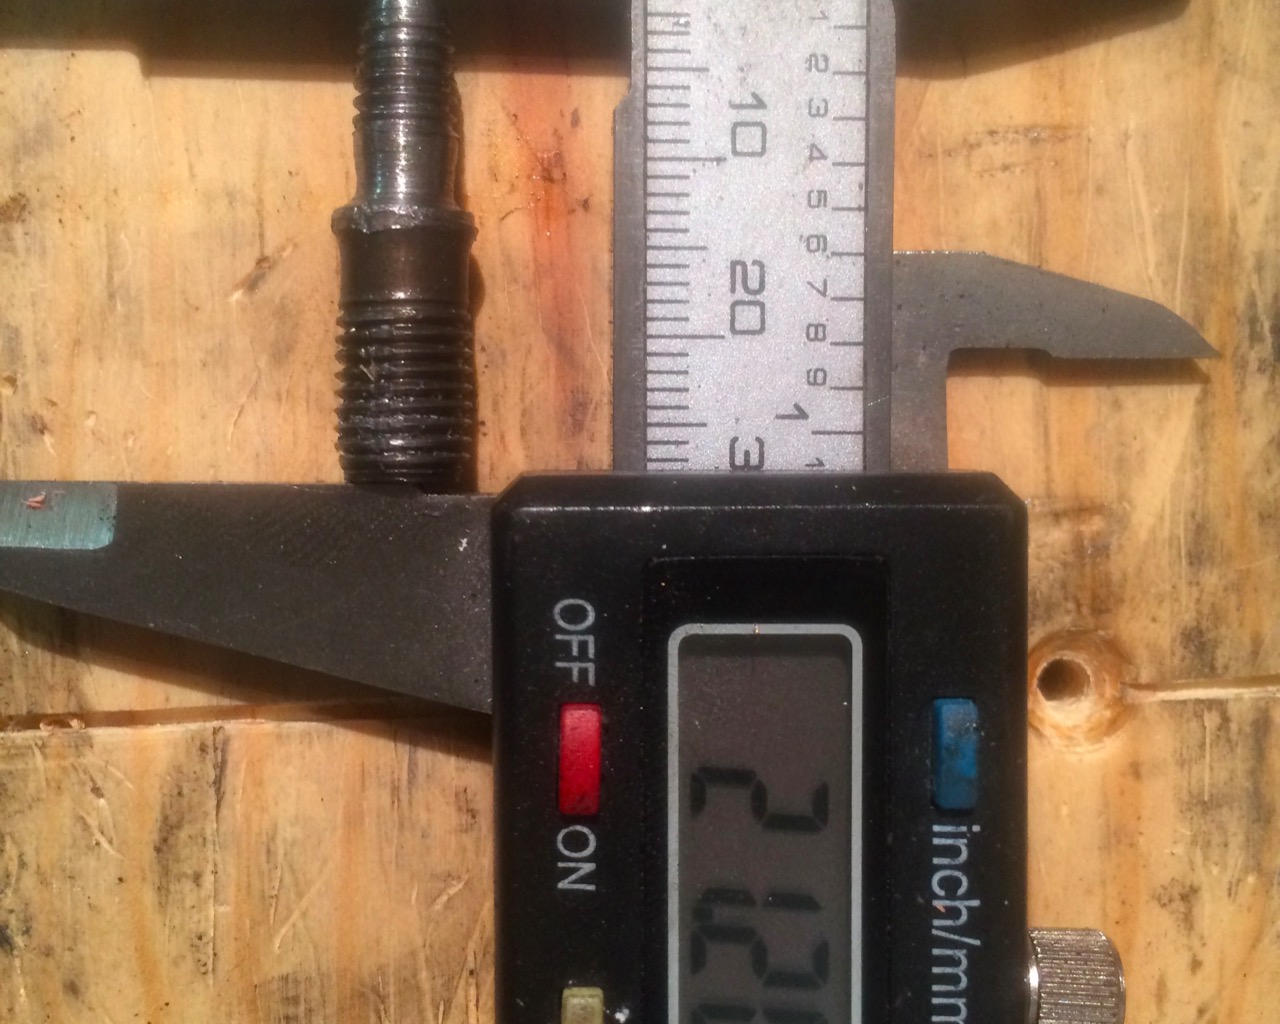
So I utilised an old connecting rod cap bolt. These are M8x1.0 to fit into the hole in the water pump where the T-bolt was, and have a convenient collar to help them act as a stud. Unfortunately, the timing belt cover for the ABL requires an M6 bolt— the M8 won't fit through it. So it's time to make a part.
I started by mounting the bolt in my drill press and cutting off the rod bolt approximately 22mm long from the tip (not the head). I then ground down the shank below the collar to approximately 5.8mm because my M6 die from Horrible Freight is barely tapered and wouldn't start any other way. I then cut M6x1.0 threads to accept a nut— if you purchase 4 M6 nuts for the dipstick mount (below), you'll have the old nut from the old stud left over.
Dipstick Mounting
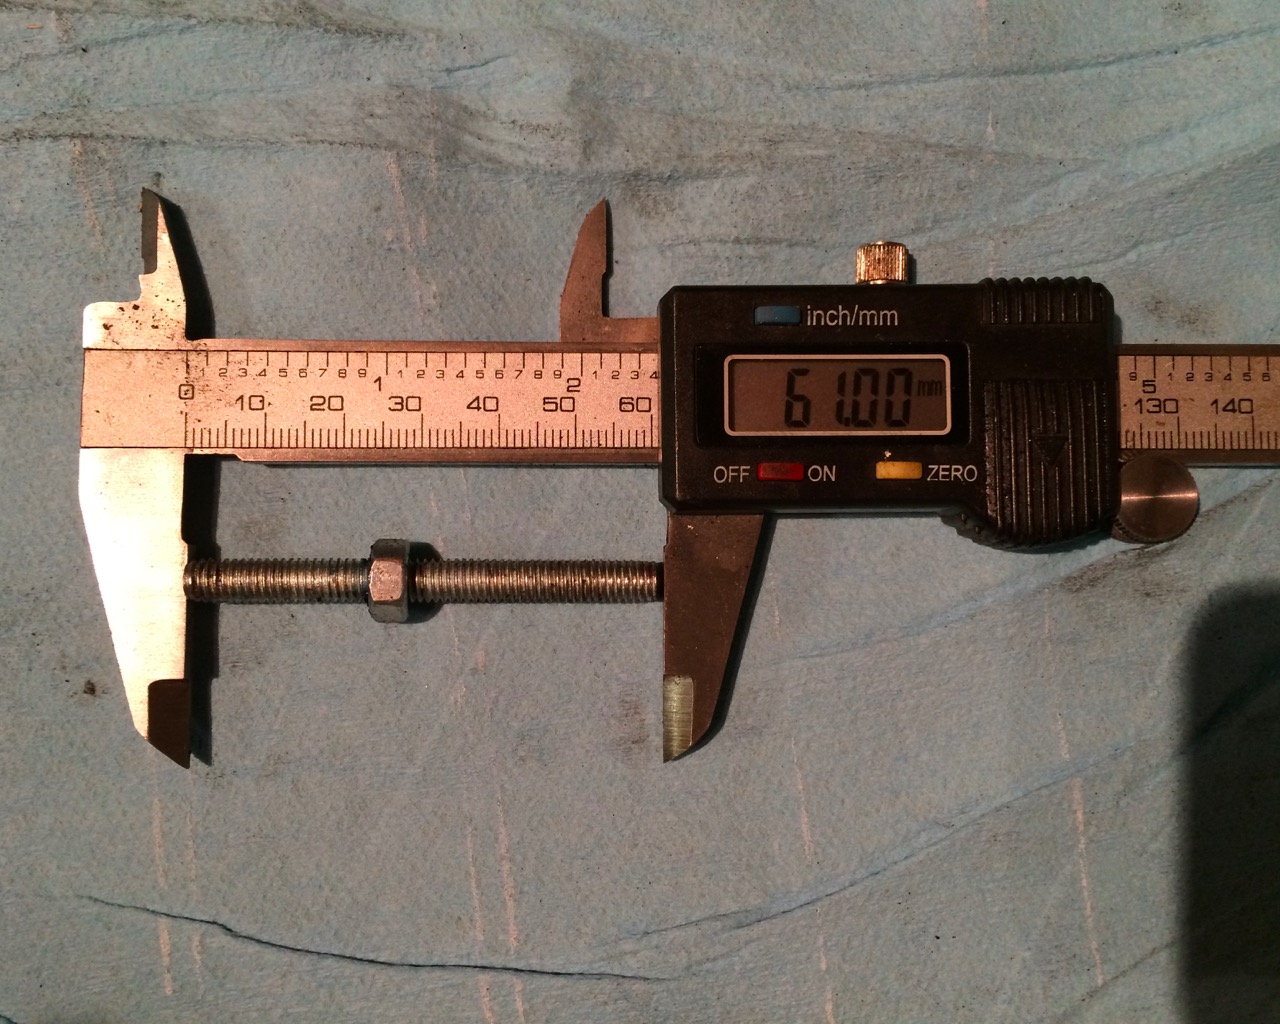
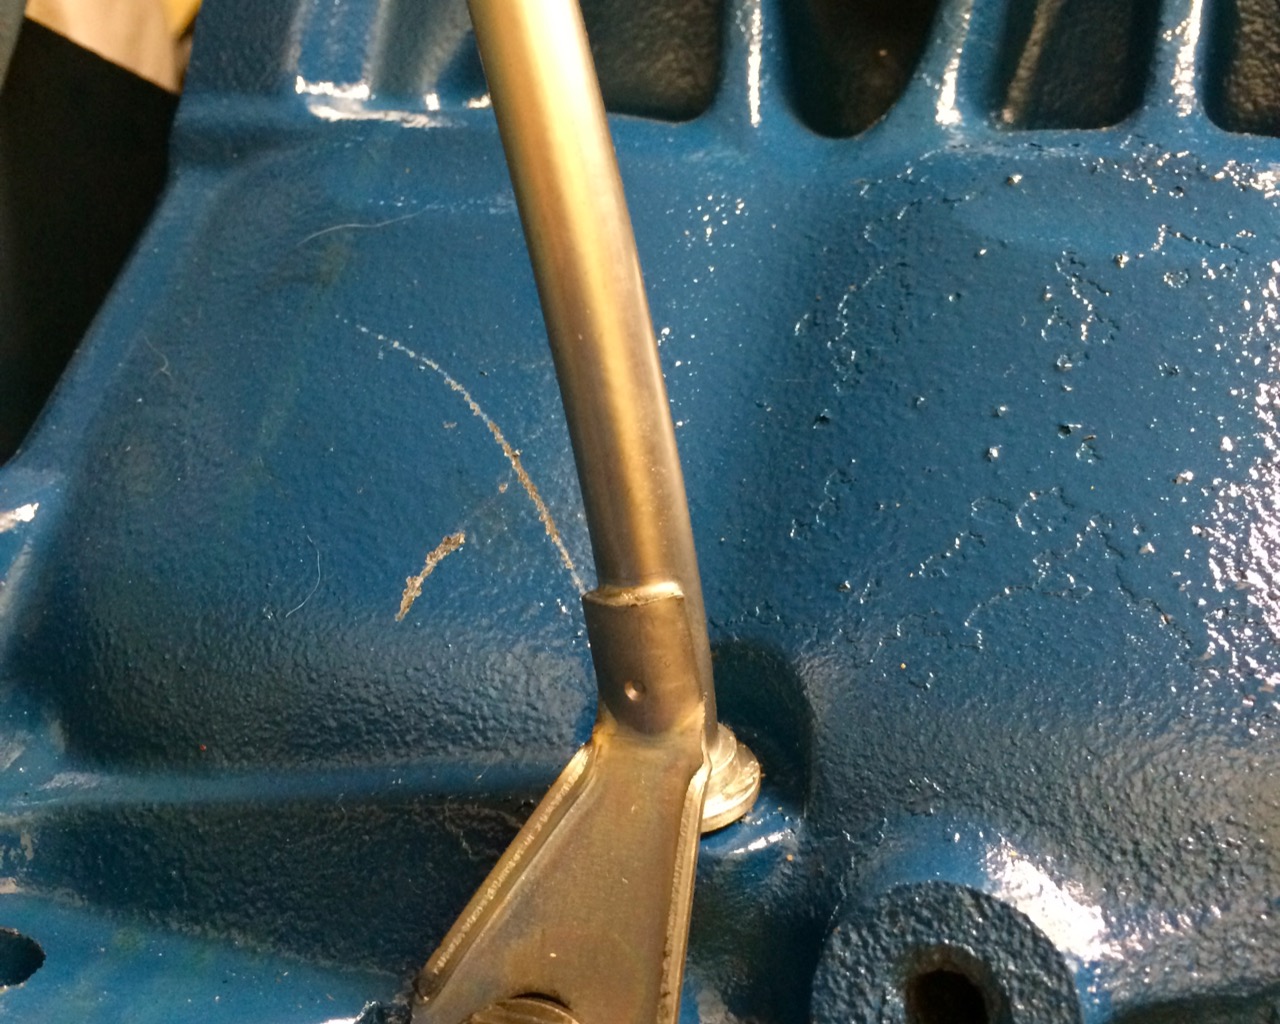 Due to the forward lean of the engine, the ABL dipstick wraps around and enters the back of the block. I drilled this hole when preparing the block. The bottom mount uses another cut-off head bolt. It is M10x1.5 18mm long. It may take a bit of jostling to get the bolt to thread in— I believe I could have drilled the 14mm portion sligtly deeper, but I wasn't interested in more metal shavings at this point.
The top of the dipstick tube mounts to the head. I am not sure how this works on the ABL, but on the 1Z there is a flange in this location with three coolant glow plugs. The dipstick tube mount interferes with this flange. If the flange holes weren't off-center you might be able to rotate it to allow the dipstick tube to mount, but unfortunately this can't be done. My solution was to purchase an M6x1.0 >60mm bolt and 4 M6 nuts. I then cut the head off the long bolt and installed it as a stud into the head. The stack goes like this, from inside to outside:
- Flange goes on
- M6 nut
- The bracket for the Orb of Death,
- Another nut
- some space
- Another nut
- The dipstick mounting bracket
- The final (fourth) nut
Conclusion
With this arrangement, everything seems even more secure than it originally was when it was in the Passat. ![]()