The fact that the T4 and B4 Passat were produced chronologically near to one another, and with similar engineering decisions, makes a lot of the modifications for this swap easy. Unfortunately, not everything is plug-and-play. There are a few things that need to be done to make things work.
The cooling system (no, AutoZone guy, that doesn't involve refrigerant), has its own page.
Air Conditioning
The T4 air-conditioning hoses are the wrong size to mount to the TDI compressor. From my research I've found that the T4 compressor can be mounted to the TDI engine bracket with slight modifications, but the clutch/pulley assembly will be misaligned and the pulley will have too many ribs.
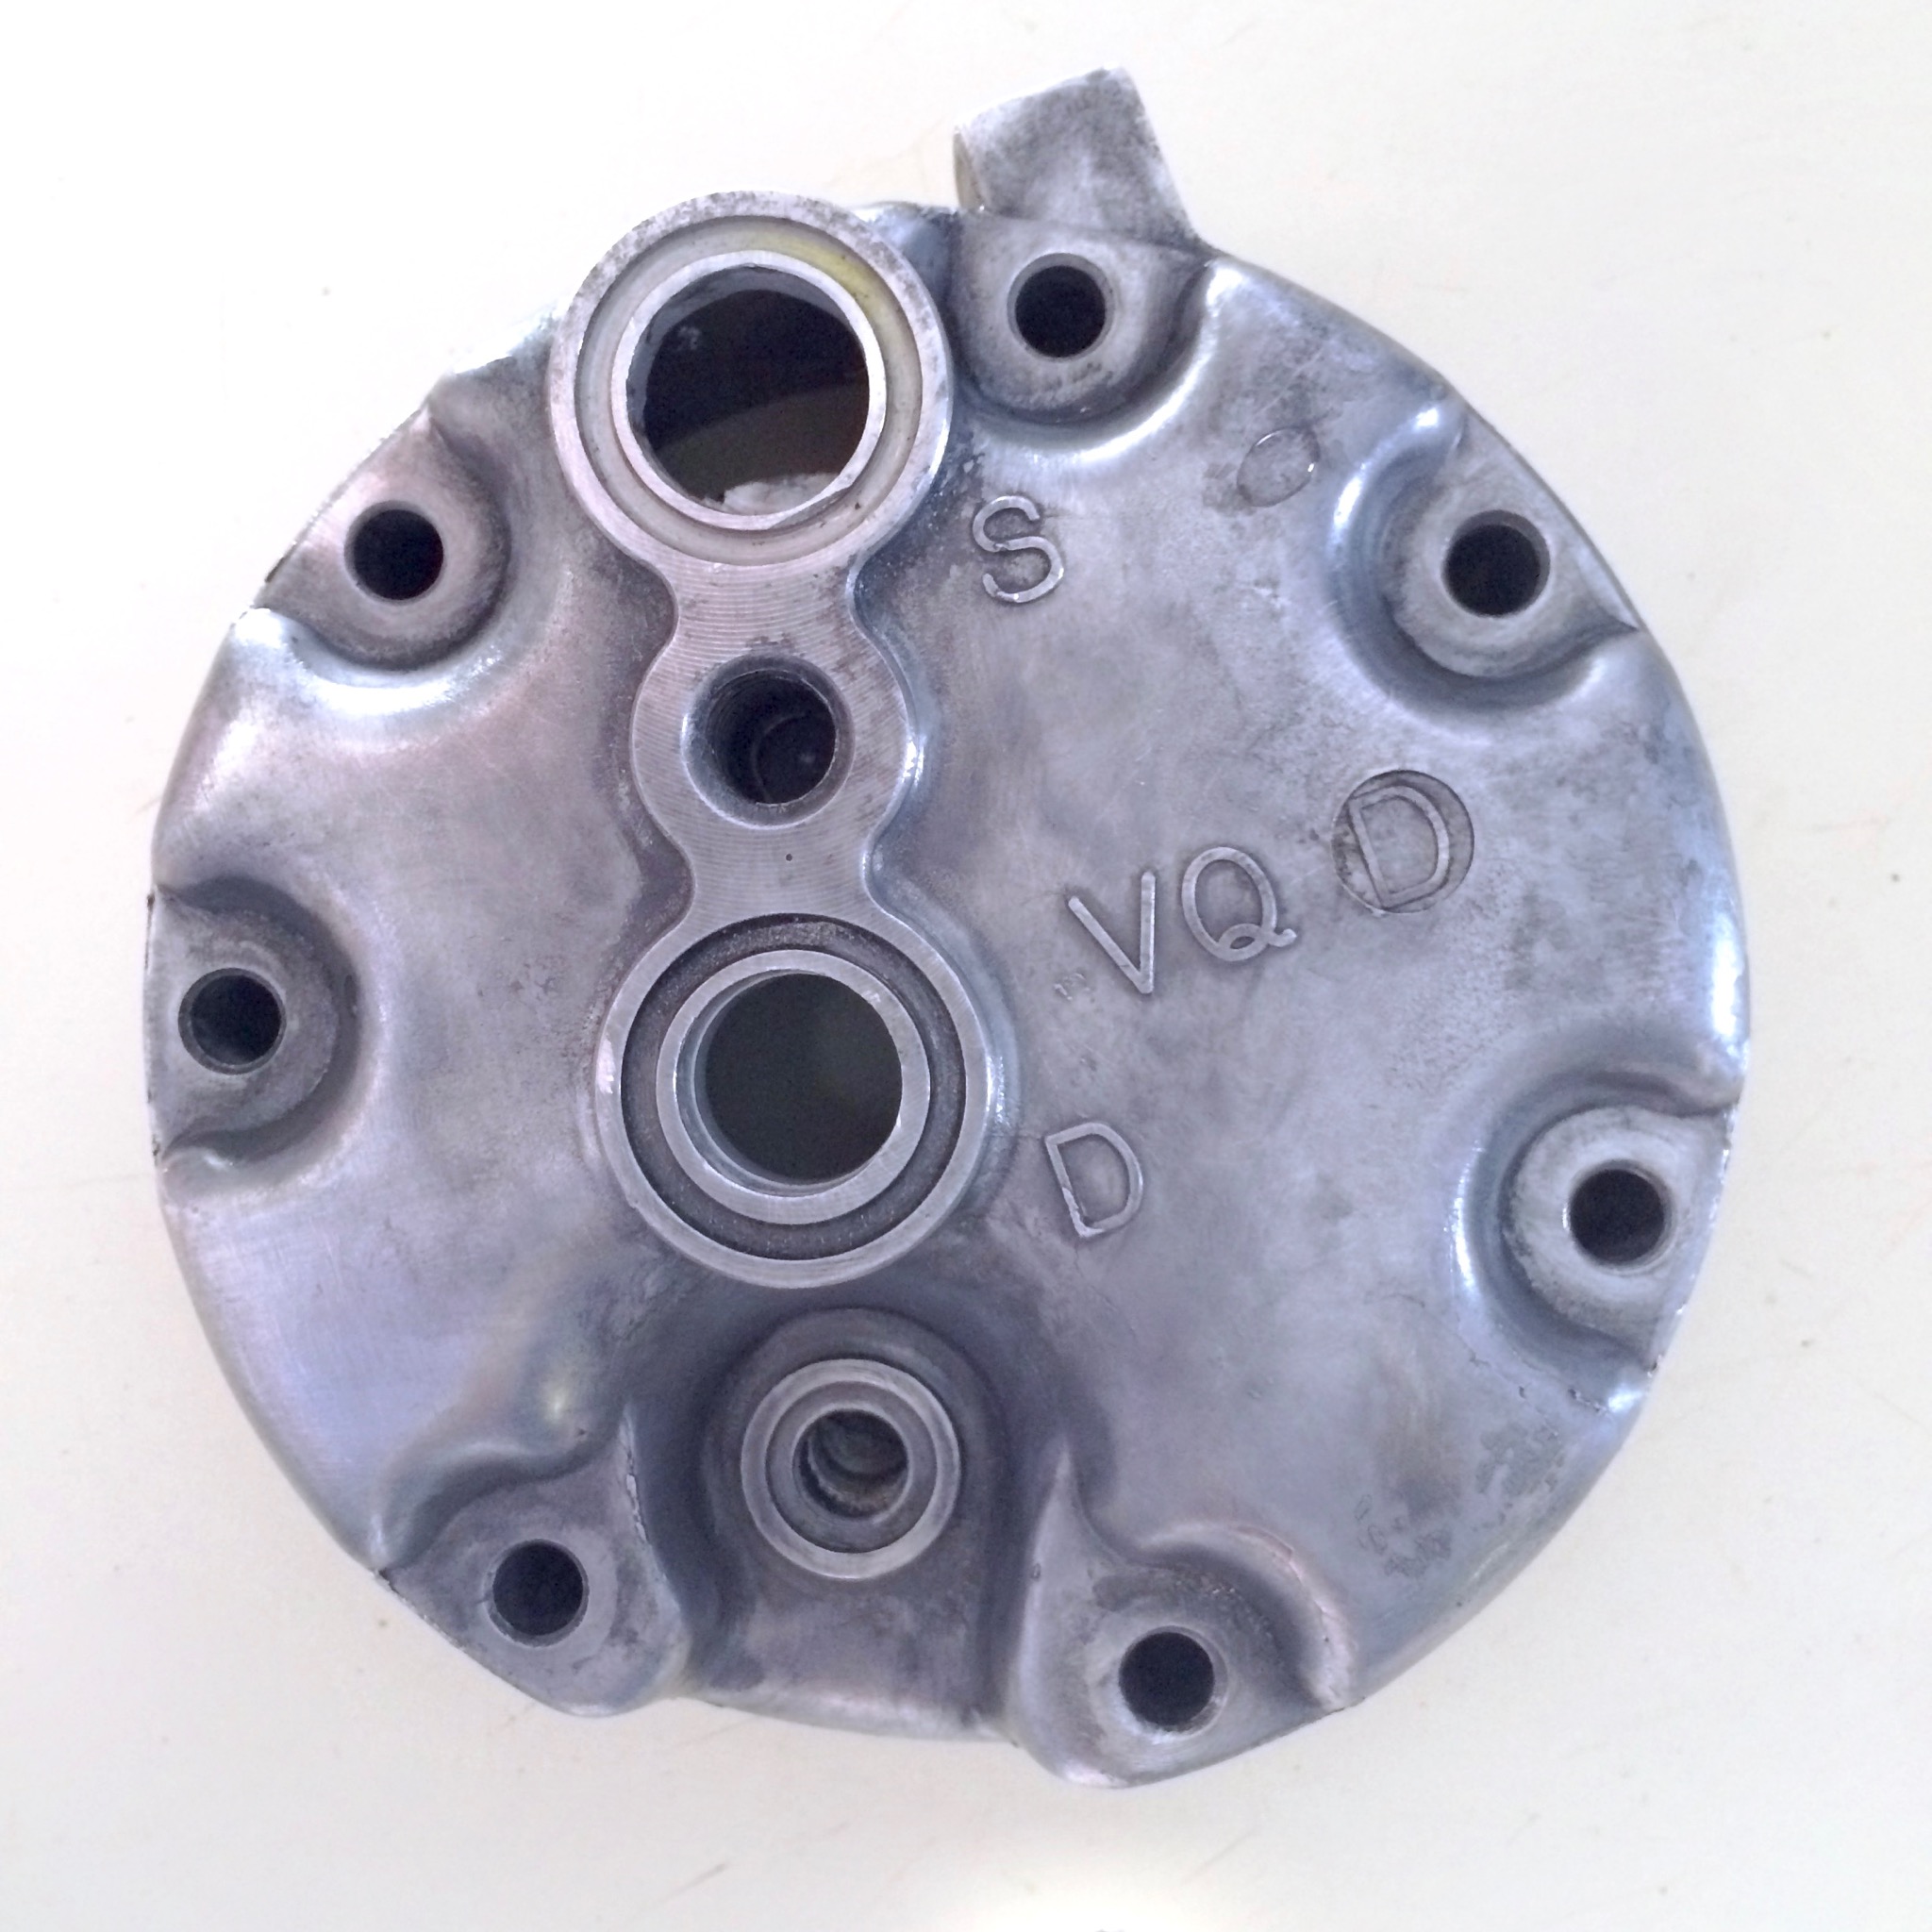 The better solution seems to be to retain the TDI compressor but modify the end-cover to accept the T4 hoses. Because the hoses seal on the o-rings, the TDI compressor holes can simply be enlarged. To do so, remove the end cap from the rear of the compressor. If there is any pag oil in your system it'll drain out now, so it's probably a good idea to have something to catch it, but no other parts will come springing out at you. Yes, I checked and the Eurovan compressor back is different enough that it will not mount to the TDI compressor.
It's probably possible to simply enlarge the holes with a dremmel or similar, but with an aging A/C system I wanted to maintain as tight a fit as possible to rule out any potential problems. I bought some cheap HSS drill bits on Amazon and used my drill press. Beware of the shank size if you go this route— most drill bits this large have 1/2" shanks that won't fit in a 3/8" hand drill.
| Hole Ø Outer | Drill Bit | |
|---|---|---|
| Larger, Outermost | 16mm | 5/8" (.625 vs .630) |
| Small, Centermost | 15.5mm | 15.5mm (Amazon) or 19/32" |
Power Steering
The power steering pump that comes on the five-cylinder is too short for the pulley to align with the beltpath. In my case this was no matter because the pump was pretty worn out after years of spinning at 4000 rpm at cruise; I wanted to use the known good TDI pump. However, there are two issues to overcome to install it.
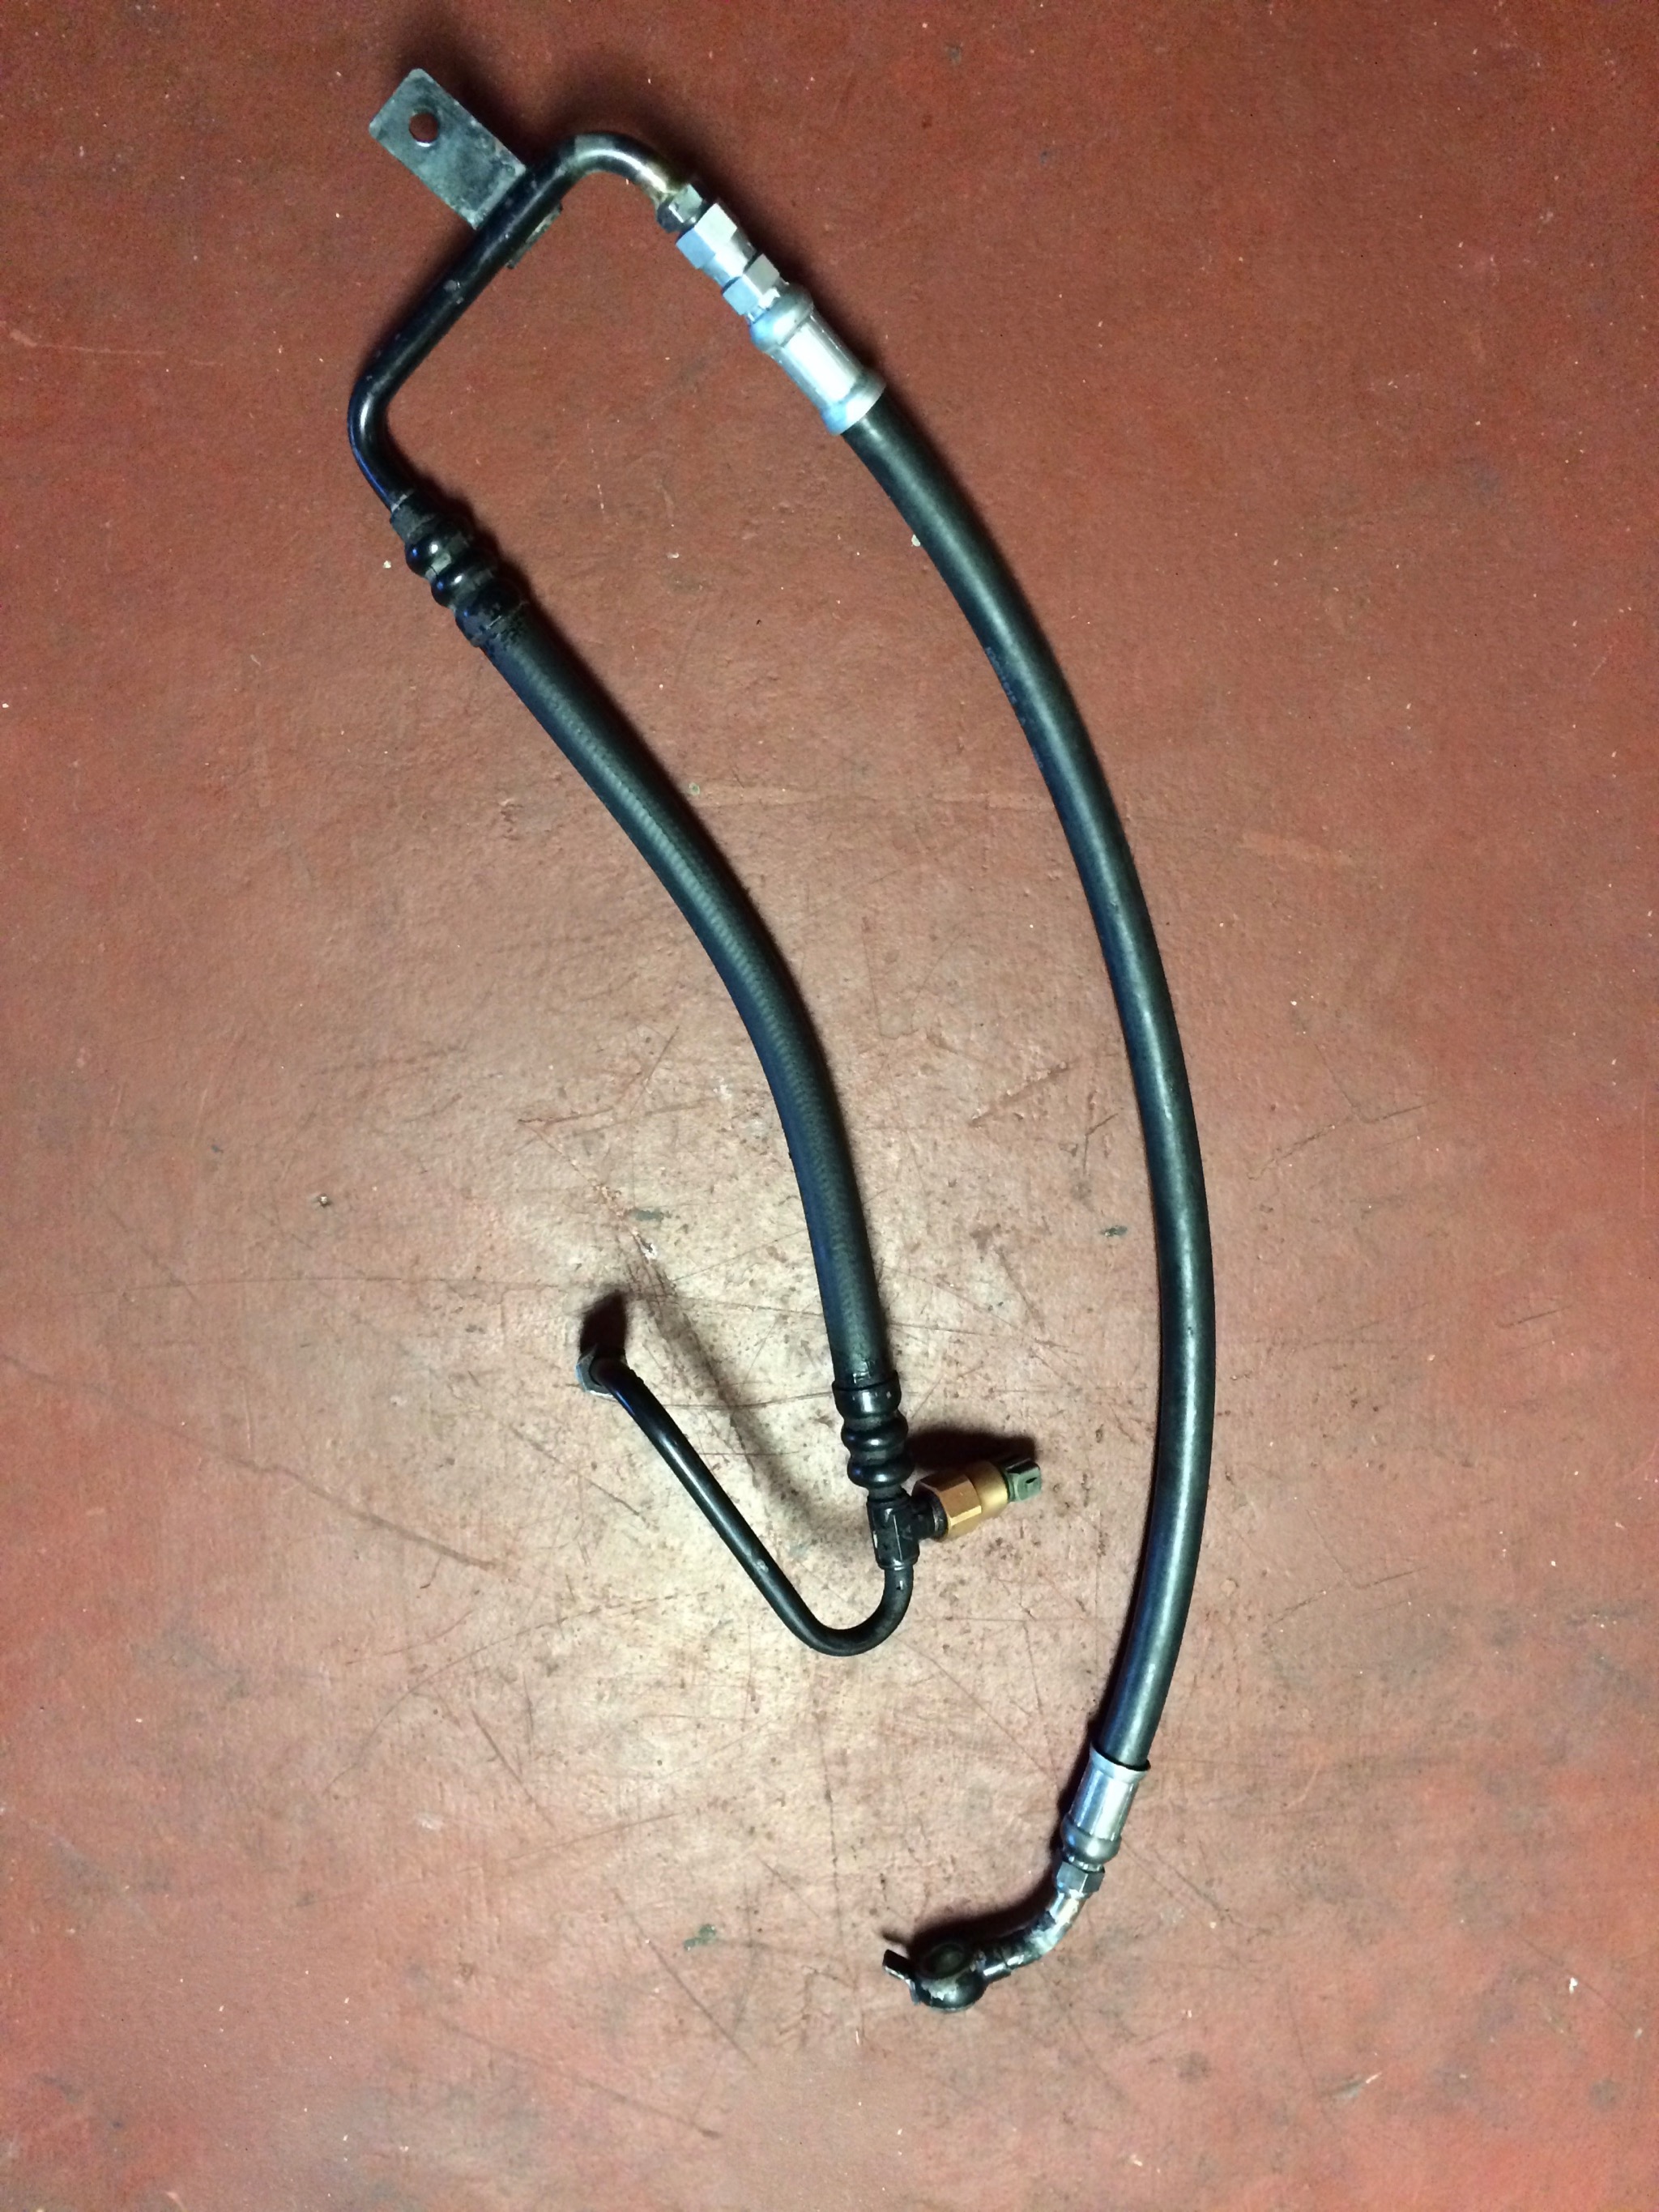 First, the high-pressure hose is just barely too short. I had mine lengthened by six inches at the rubber section closest to the pump. This came out to be about perfect if a slight bit long. This cost me $65 even. Because of the mounting angle the hose is projected down towards the road and could easily become the lowest object on the car. If you have a way of bending the banjo mount closer to 90° without kinking the line you could probably get away with making it only 4" longer.
Second, the low-pressure hose on the five-cylinder pump mounts with a banjo bolt simliar to the high-pressure hose. This can simply be cut off and a section of power-steering fluid compatible hose spliced in with a hose clamp. In fact, this is how the hose is connected to the power-steering cooler circuit near the radiator.
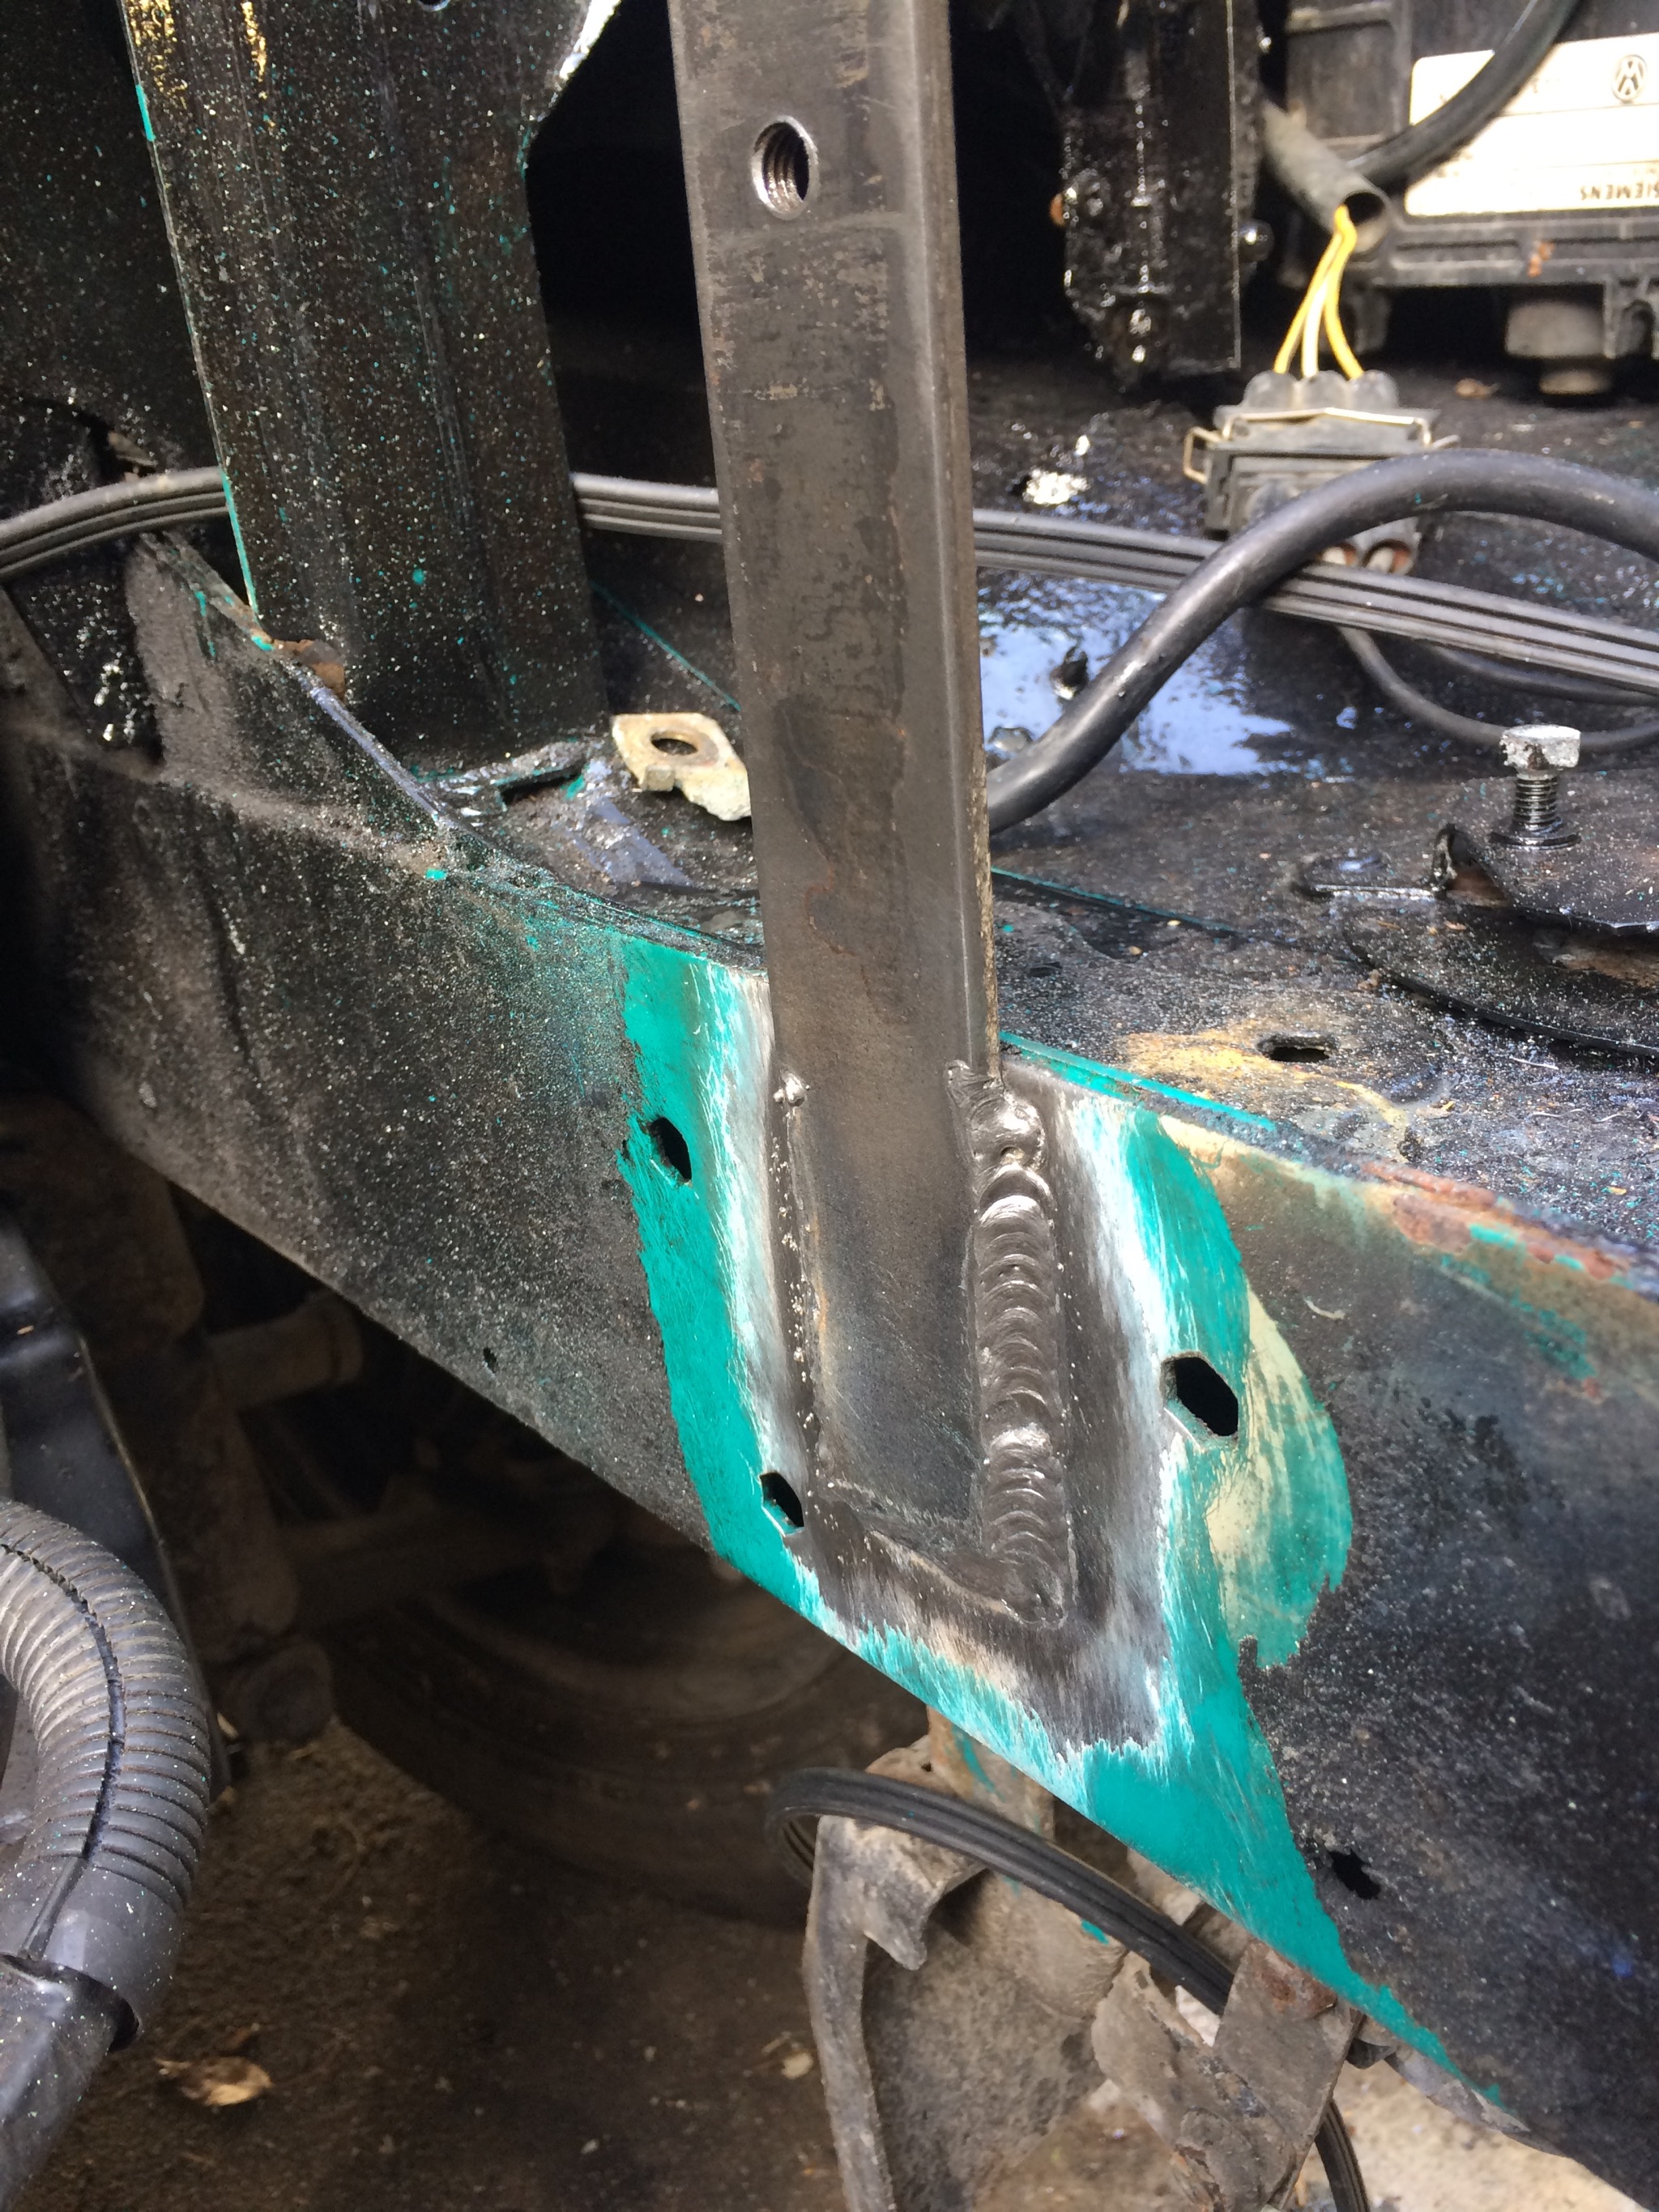
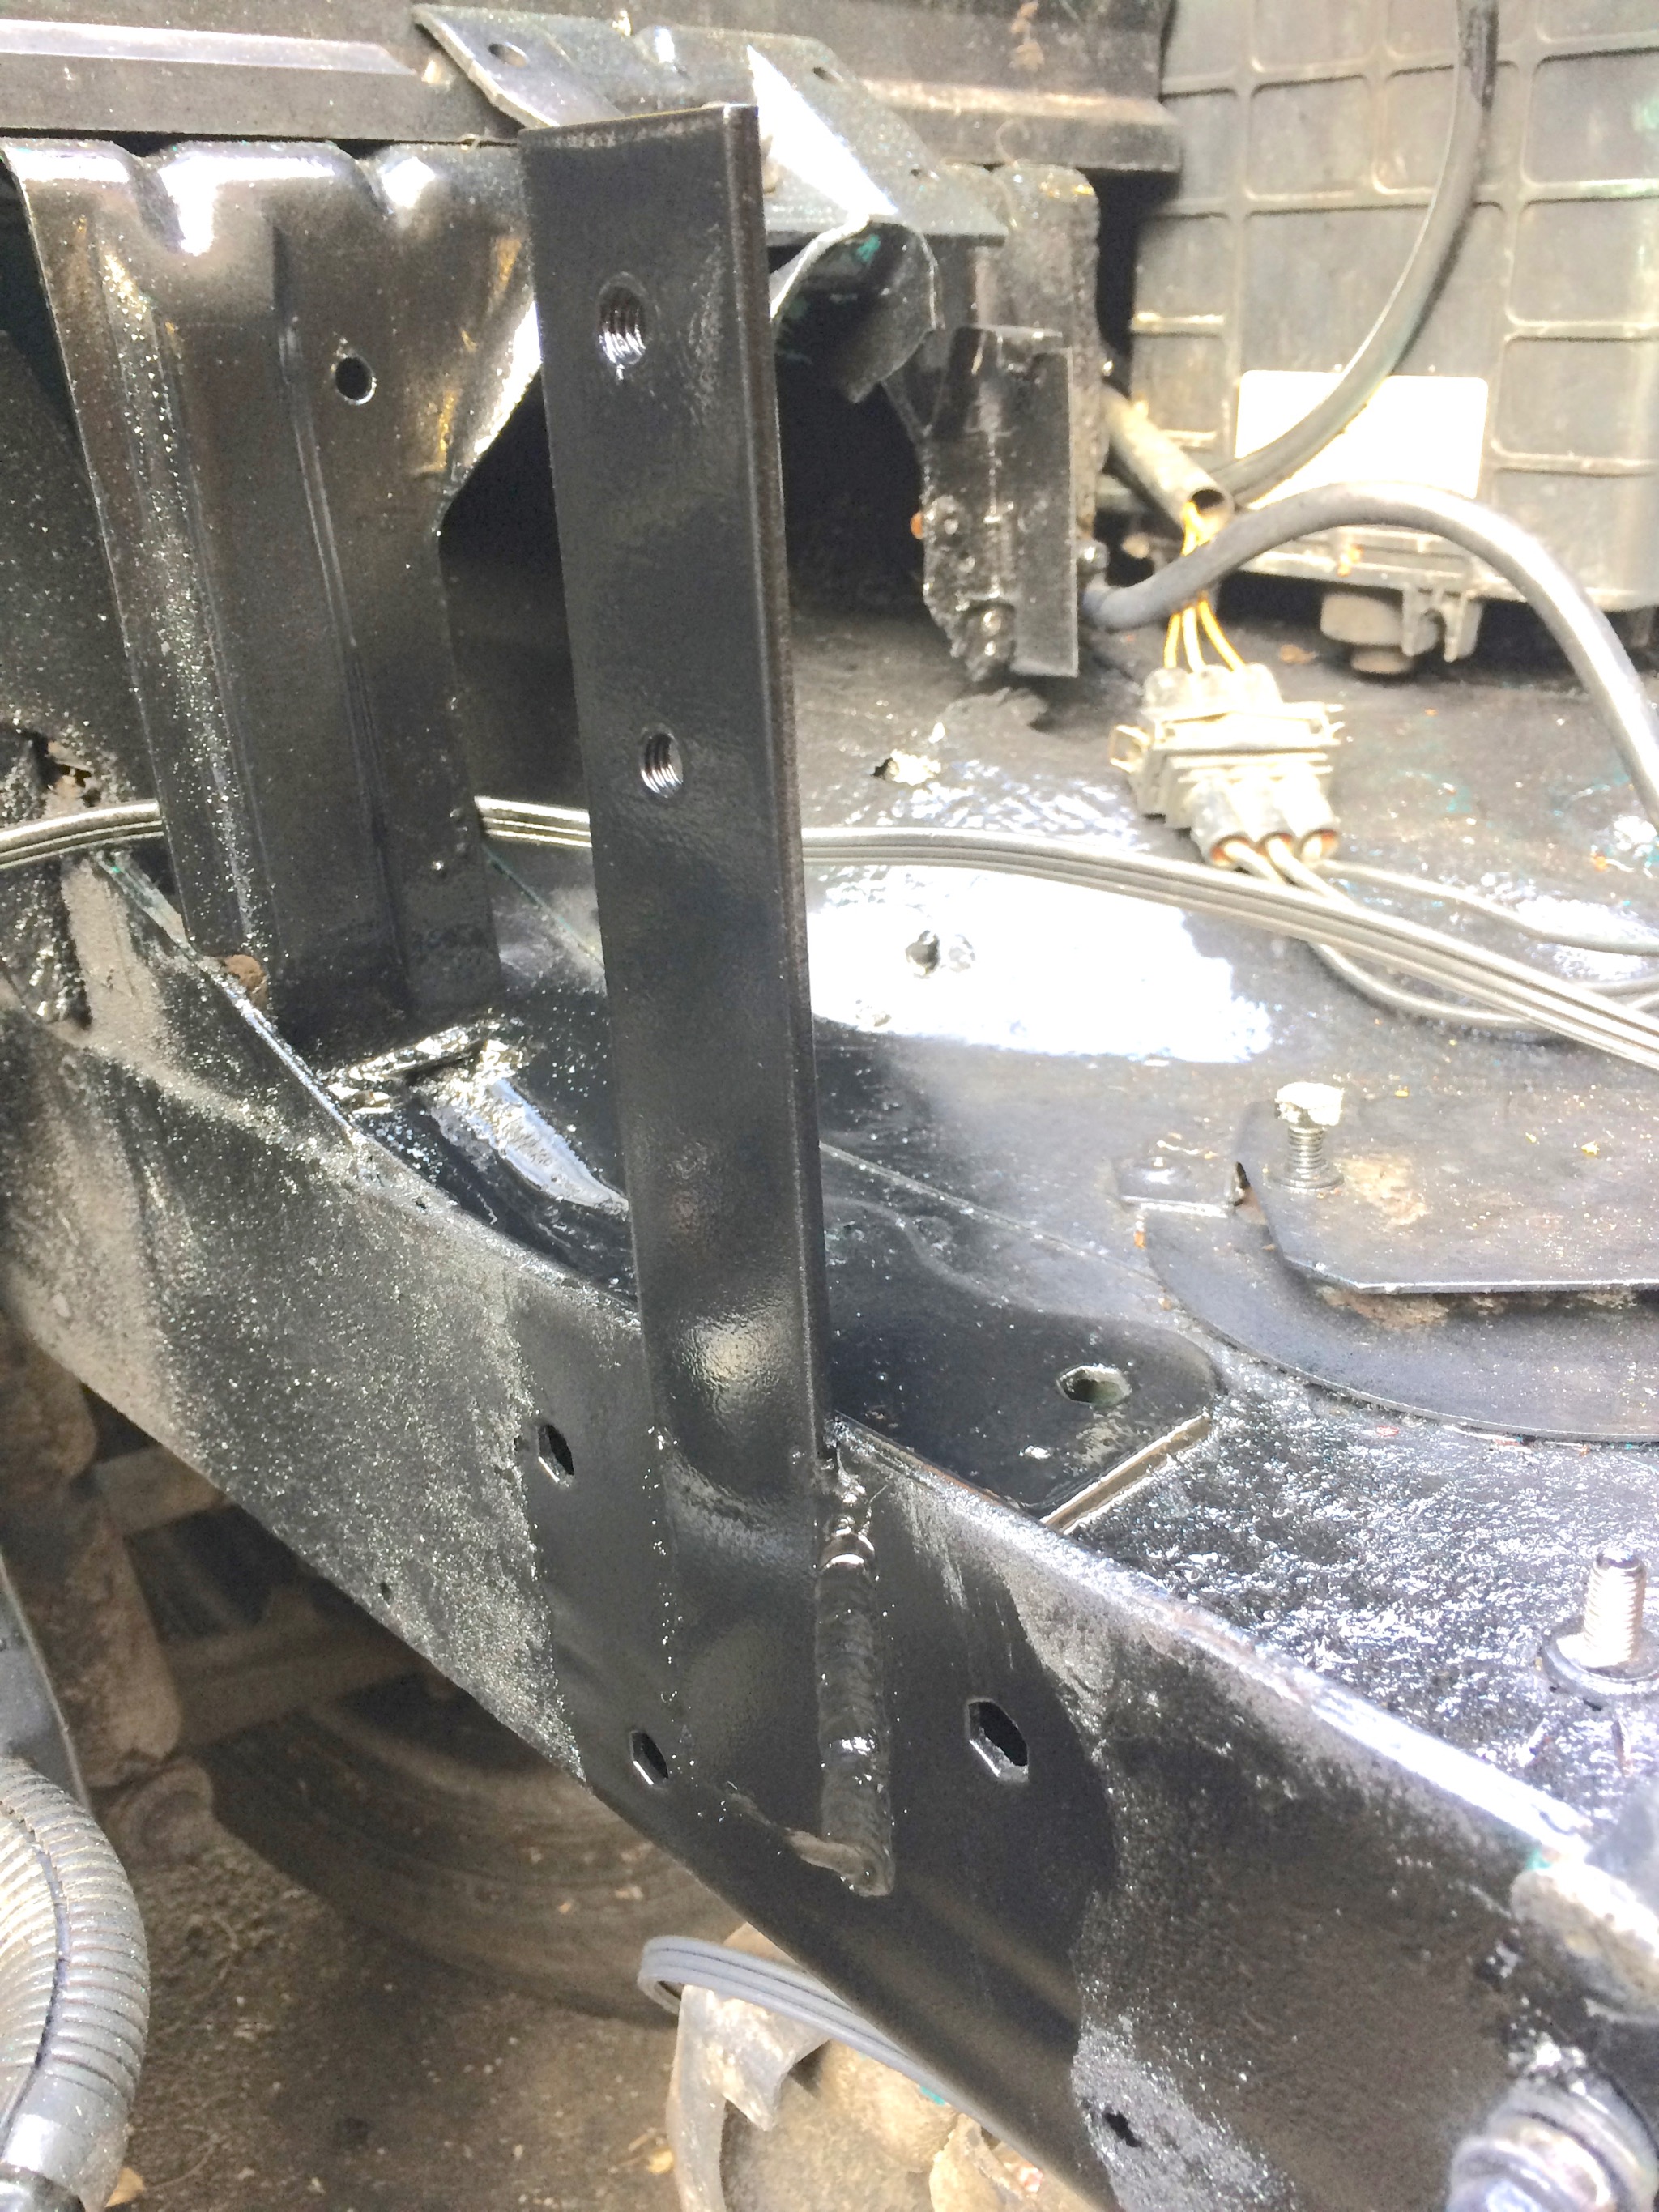
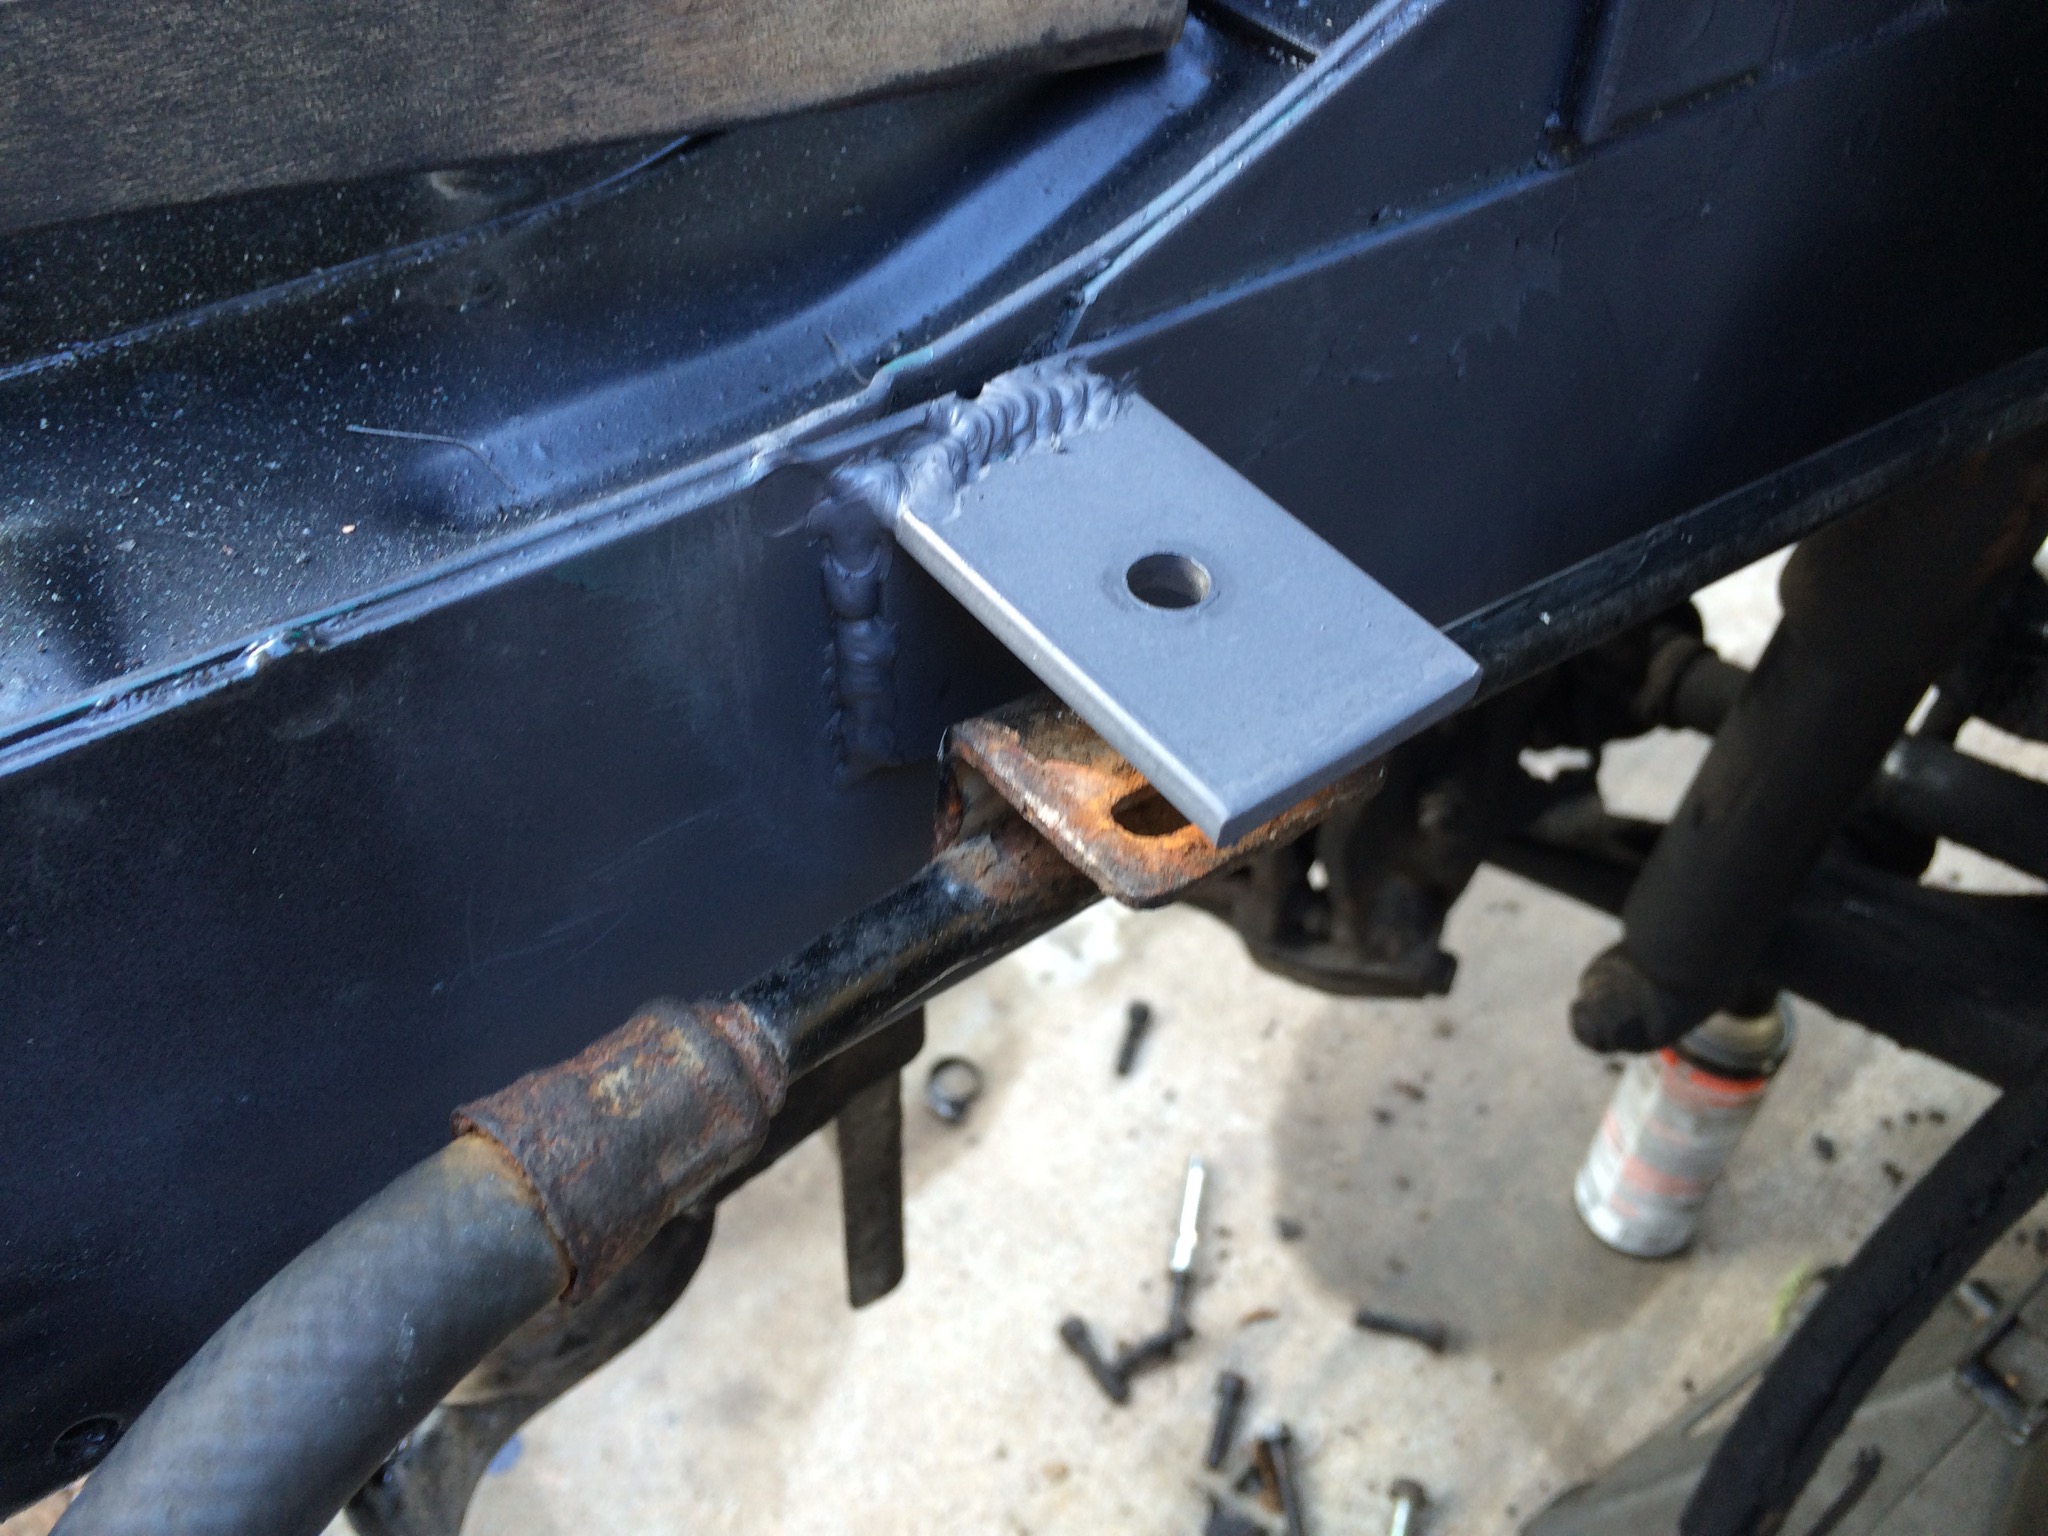 Unrelated to which pump you use, though (seriously, use the TDI pump), the hoses that used to mount to the engine need to be supported somewhere. I chose to attach them to the ample space provided on the right-side frame member. I made a bracket 25mm by 50mm and welded it to the frame in such a way that it holds the hoses from contacting the harmonic balancer. There are probably lots of ways to handle this, though.
Fuel Lines
 At this point we will have three diesel vehicles in our family. Once I find a supply of quality waste vegetable oil in the Phoenix metro area I will be making biodiesel. Because of this I want to use a biodiesel-compatable fuel line. While Viton is recommended it is extremely expensive. I opted for biodiesel-rated 5/16" ID Tygothane from McMaster-Carr for both the feed and return lines. The plastic sections can stay.
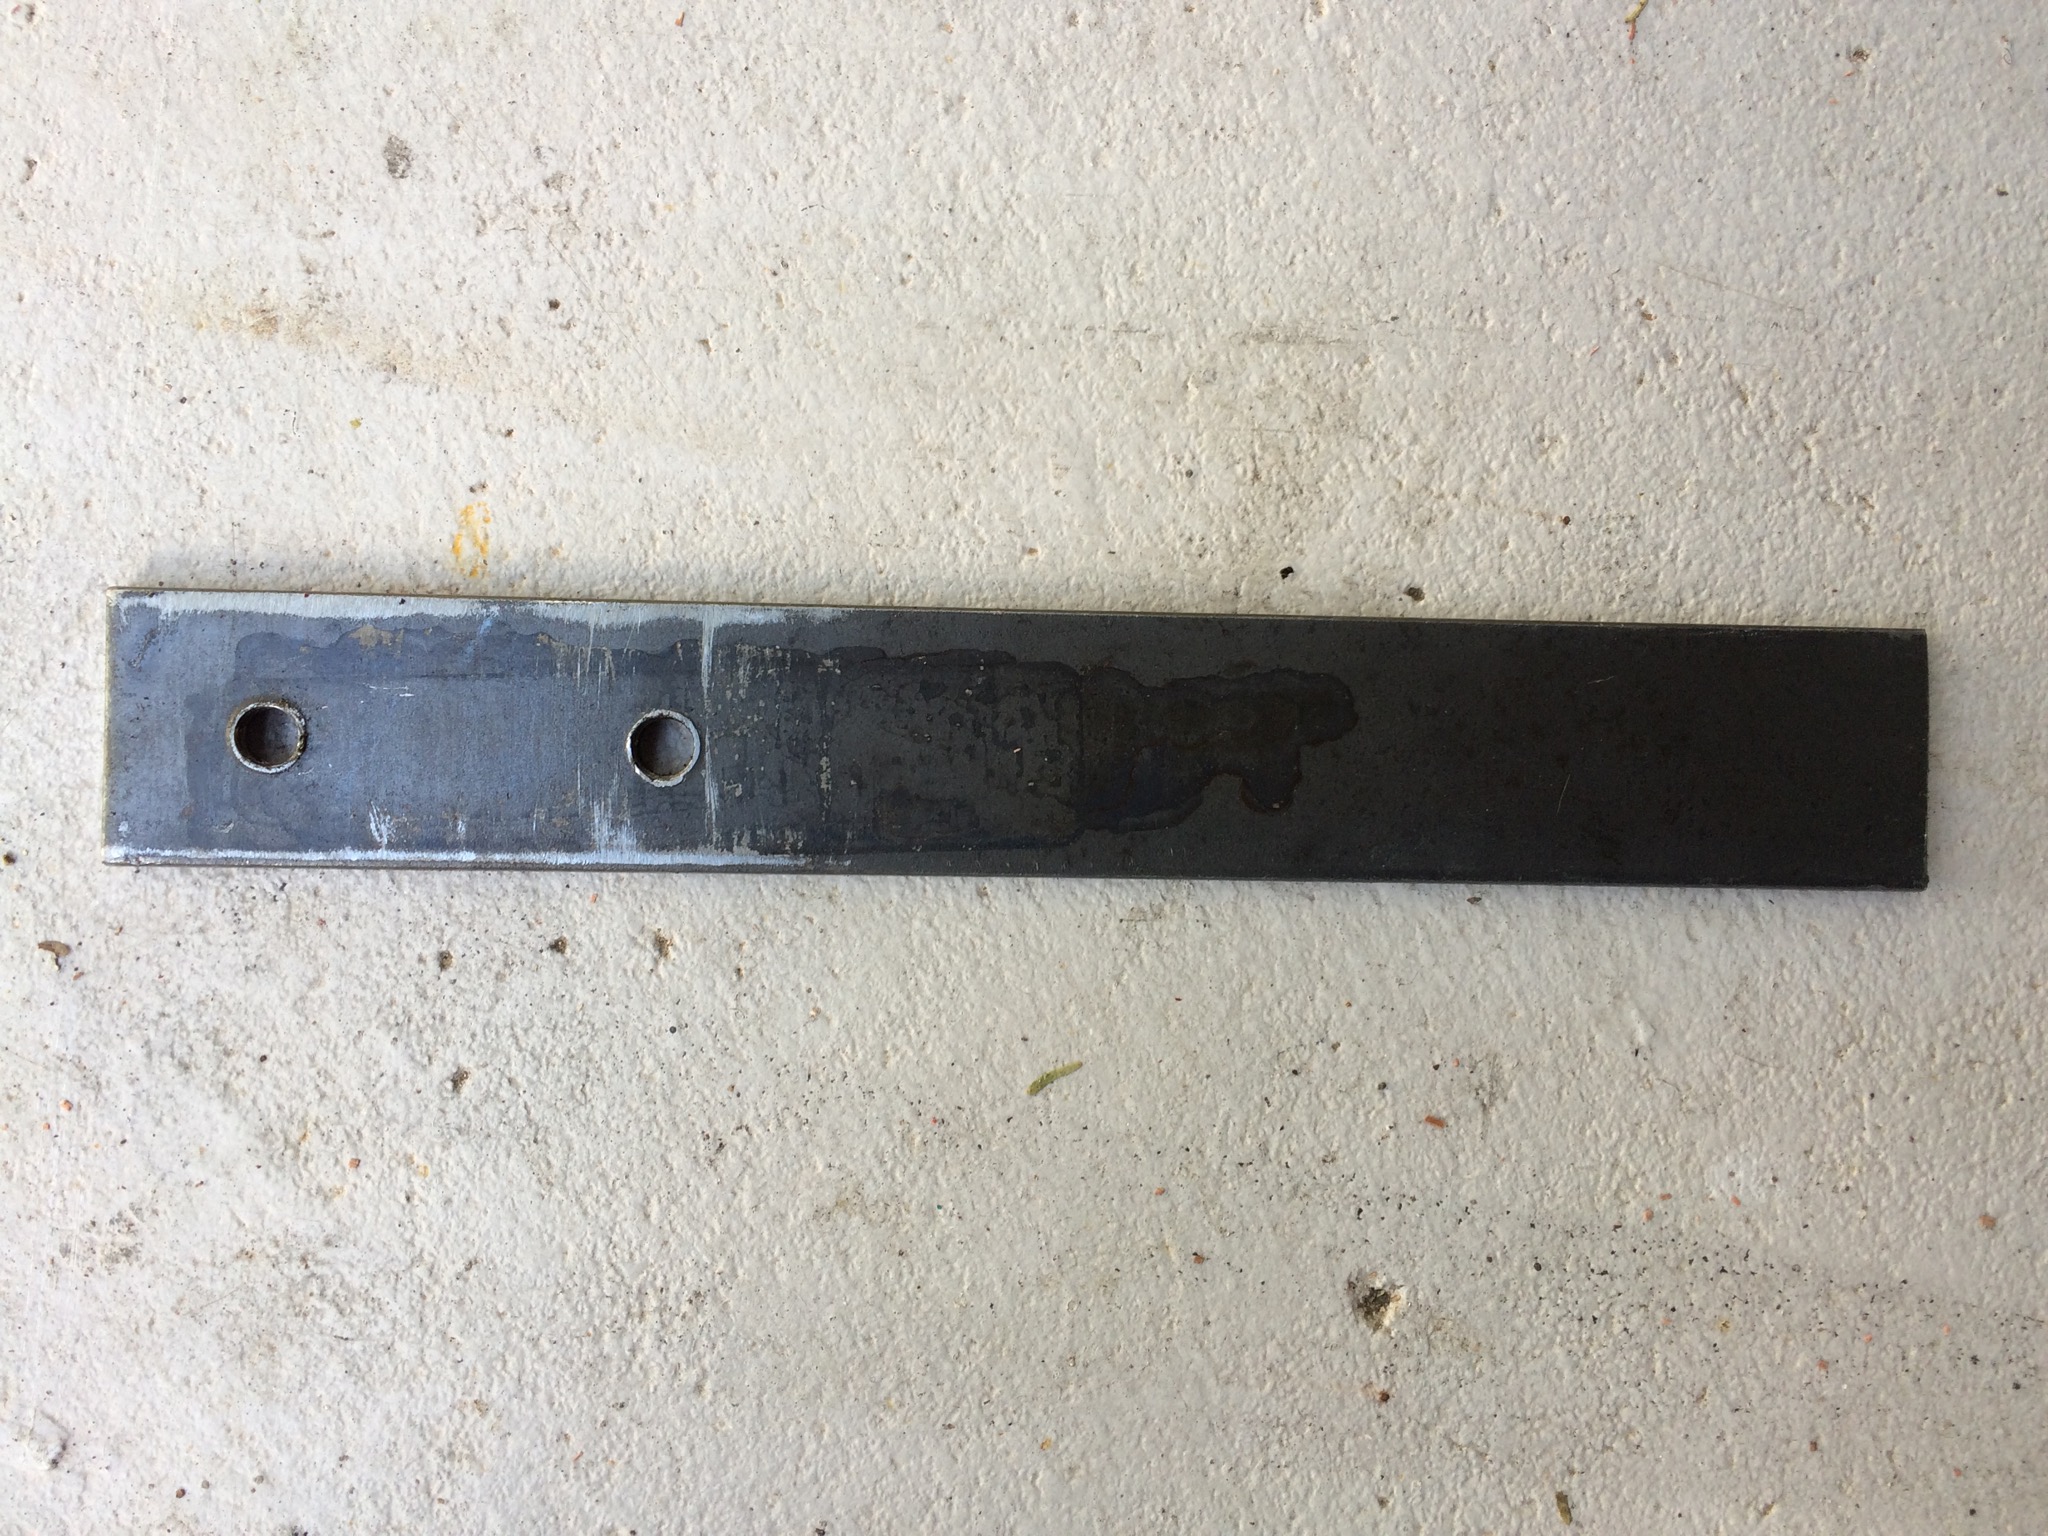
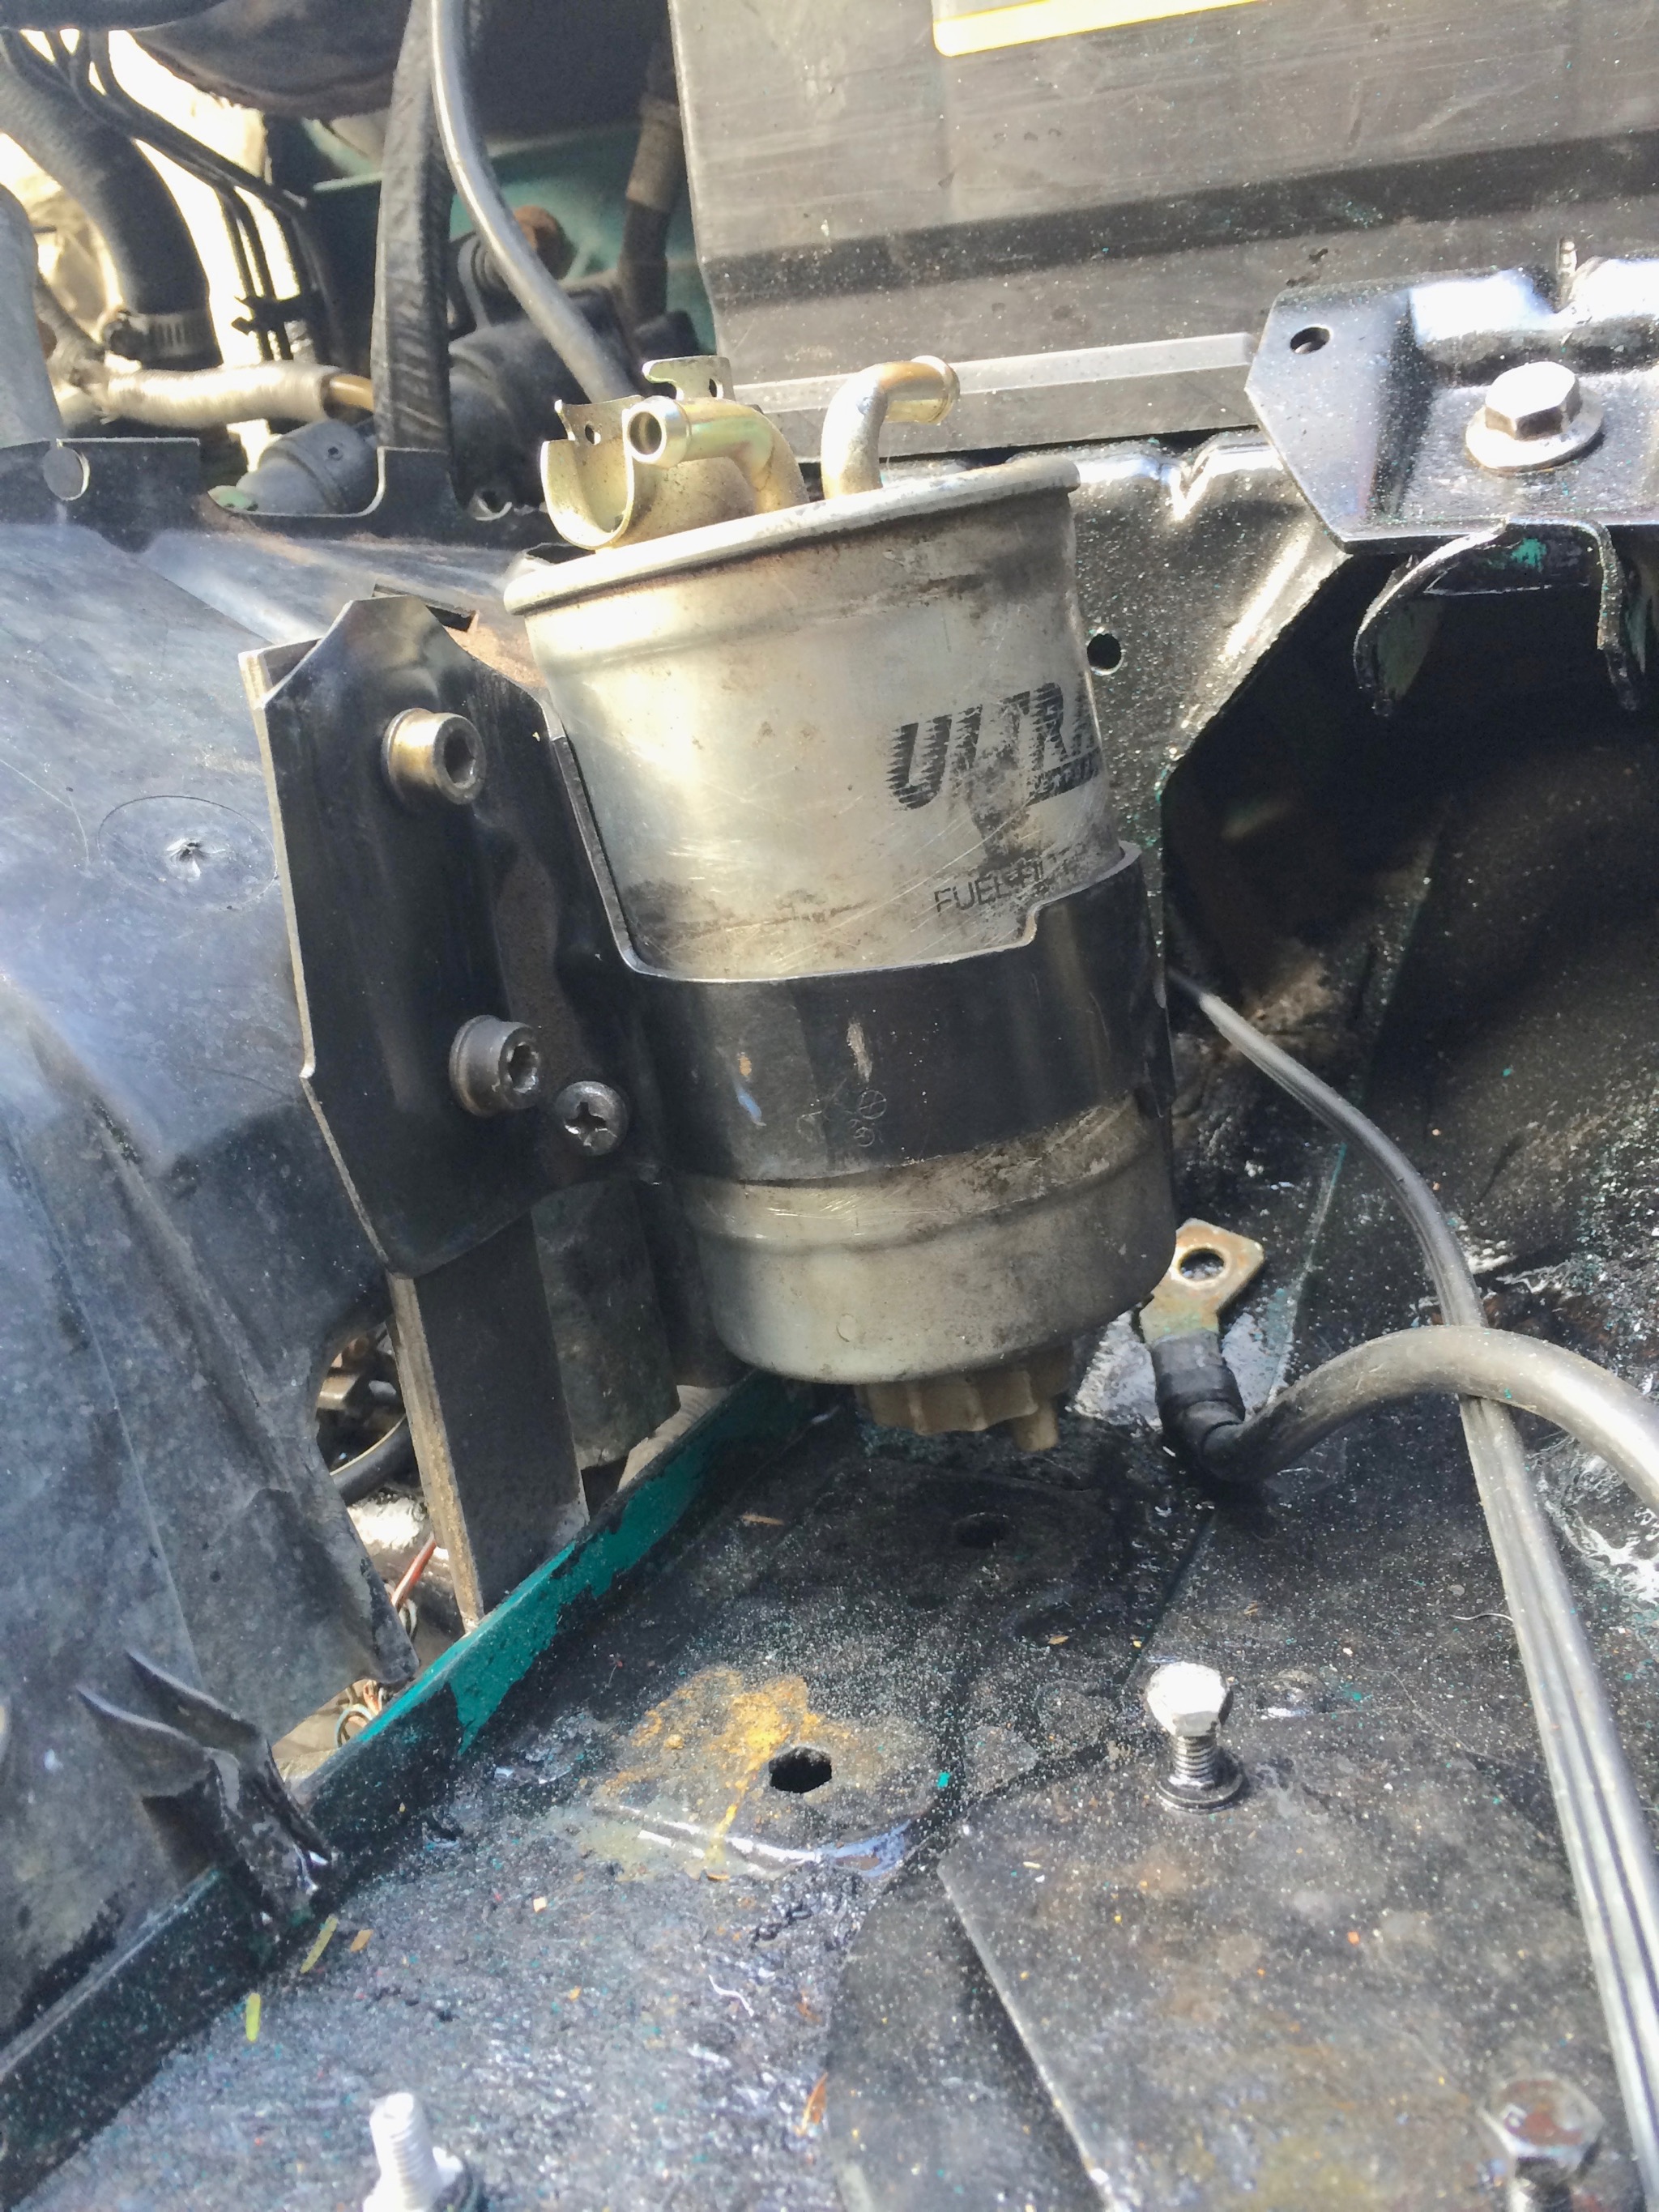
The fuel filter must be mounted safely and accessibly. I chose to locate it near where the ignition coil used to be. First, I cut a piece of 3/16" bar and sized it up with the filter. Then mark, drill to 6.5mm and tap for M8x1.25 threads. Finally, I cleaned up the frame and welded it in place.
N75 Valve
cli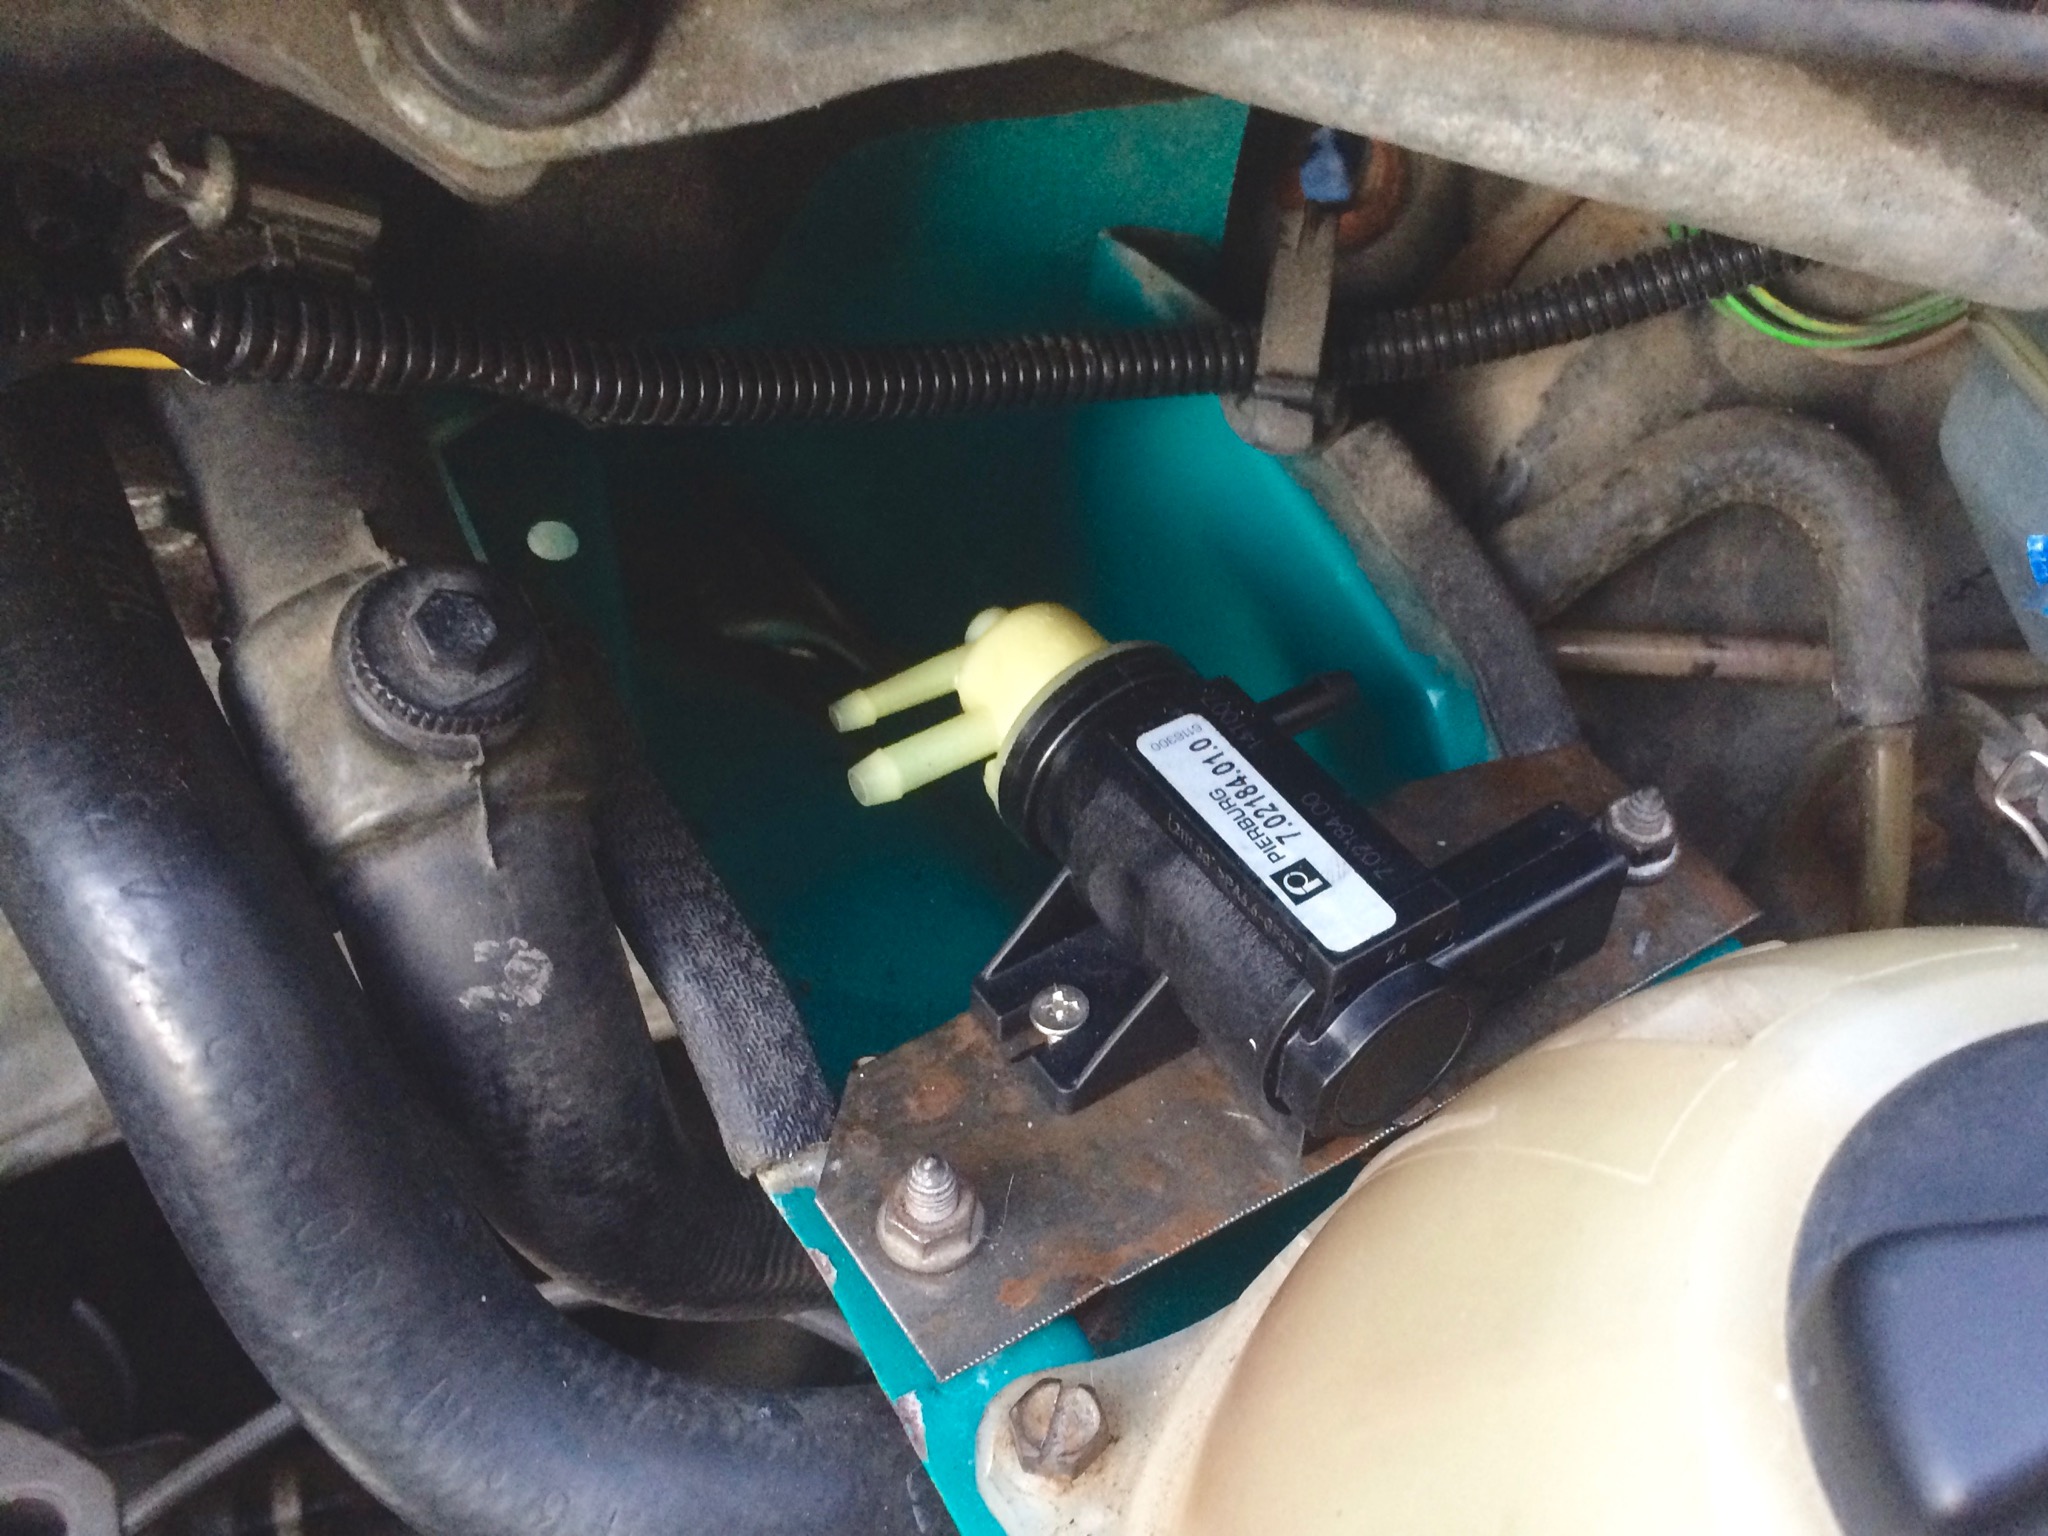 Because I've installed a VNT-17 turbo I had to use an N75 (boost controller) valve from a MkIV car. VNT turbos must be controlled by negative rather than positive pressure. To mount the N75, I removed what I believe was the evaporative purge valve behind the coolant reservoir and made cut a plate out of some soft steel sheet metal. You may want to get some rubber bushings to dampen the vibrations both to and from the valve. After doing the wiring and getting a bit further in the project, I can hear the N75 clicking from within the cabin with the key off. I'll be adding some rubber grommets when I take this bracket back off for painting.
The plug for this valve is different from the original B4 plug. It's easy to de-pin the old plug and simply insert the pins into the new plug. This is one place where you will have to start lengthening a few wires, though. Make sure to solder and heat-shrink extensions before taping up the loom again.
Other Pieces
To be continued…